TL;DR:
- Vinyl overlay kits easily customize Subaru and Ford emblems without permanent changes.
- Proper cleaning and precise application are key for long-lasting, bubble-free results.
- Overlays allow personalization of vehicle identity through custom designs and state flags.
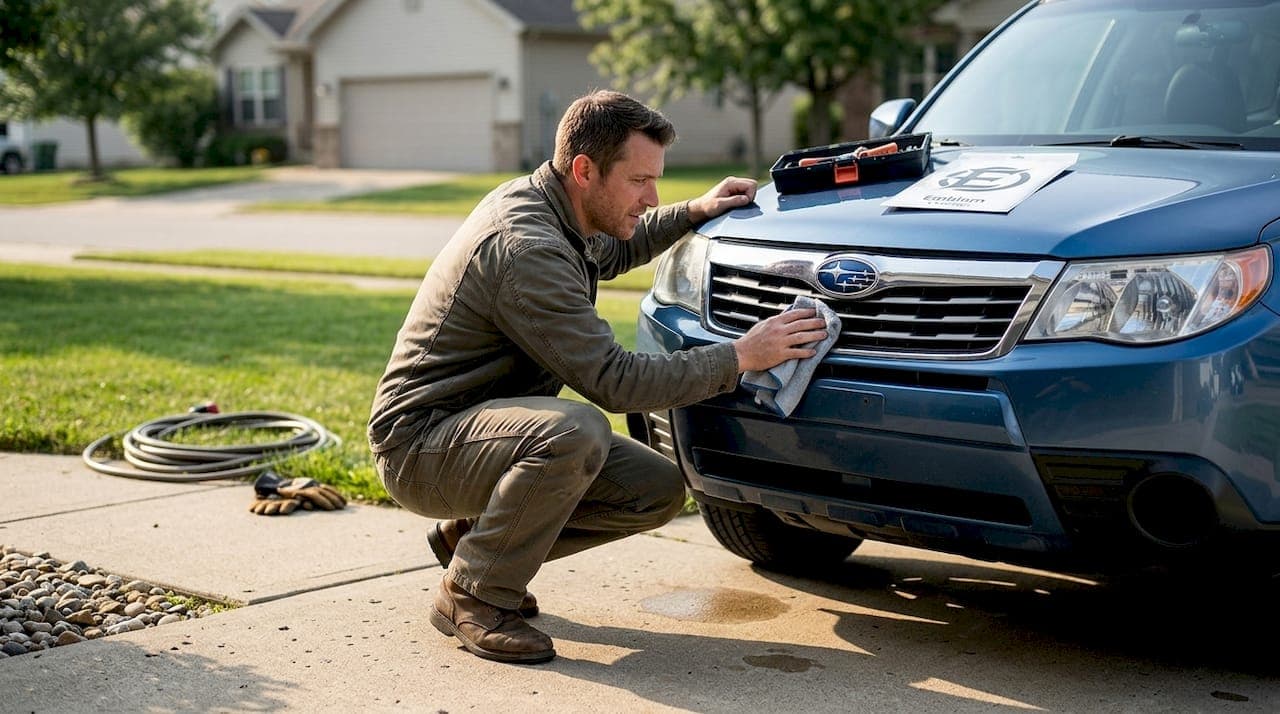
Your factory grill emblem was never meant to be the most exciting part of your Subaru or Ford. Over time, it fades, chips, or just blends into the background like every other car in the parking lot. A vinyl emblem overlay changes that fast, without drilling, painting, or spending hundreds at a dealership. Whether you want your state flag proudly displayed on your Forester's nose or a bold custom design on your F-150's grille, the process is simpler than you think. This guide walks you through every step, from gathering your tools to keeping your overlay looking sharp for years.
Table of Contents
- What you need before starting
- Preparing your grill emblem for overlay
- Applying the grill emblem overlay: Step-by-step
- Troubleshooting and long-term care
- What most drivers miss about emblem overlays
- Find your perfect emblem overlay
- Frequently asked questions
Key Takeaways
| Point | Details |
|---|---|
| Easy customization | Overlay kits offer a quick way to update your car’s grill emblem with unique designs. |
| Proper prep is crucial | Cleaning and prepping your emblem well ensures the overlay bonds securely and lasts. |
| DIY-friendly process | With the right tools and steps, most car owners can install overlays themselves. |
| Maintenance extends lifespan | Regular care can help overlays last three to five years in most conditions. |
What you need before starting
Now that you know what's possible, let's make sure you have everything ready to get started. Jumping in without the right tools is the fastest way to end up with bubbles, crooked placement, or peeling edges within a week. A few minutes of preparation saves you a lot of frustration later.
Here's what you'll need before you touch the emblem:
- Heat gun or hair dryer for warming the overlay during application and removal
- Isopropyl alcohol (70% or higher) for degreasing the emblem surface
- Microfiber cloths for cleaning and drying without scratching
- Plastic squeegee or credit card for smoothing out air bubbles
- Masking tape for test-fitting and alignment before committing
- Mild soap and water for the initial rinse
- Your vinyl overlay kit sized to match your specific emblem
Not all overlays are created equal. Durable overlay materials make a real difference in how long your design holds up against rain, UV exposure, and car washes. Cheap vinyl fades and curls at the edges within months. Quality overlays use cast vinyl, which conforms to curved surfaces better than calendered vinyl and resists shrinking over time.
| Tool | Purpose | Substitute |
|---|---|---|
| Heat gun | Soften vinyl for adhesion | Hair dryer on high |
| Plastic squeegee | Smooth bubbles | Old credit card |
| Isopropyl alcohol | Degrease surface | Rubbing alcohol |
| Microfiber cloth | Clean without scratching | Lint-free cloth |
| Masking tape | Alignment guide | Painter's tape |
Workspace matters more than most people realize. Work indoors or in a shaded area where the temperature sits between 60°F and 80°F. Cold surfaces make vinyl stiff and hard to conform. Hot direct sunlight causes the adhesive to grab too fast, leaving you no room to adjust. Dust is your enemy, so wipe down your work area before you start.
Pro Tip: Measure your factory emblem before ordering. Length, width, and any raised lettering all affect how well the overlay fits. A precise match means cleaner edges and a more professional result.
For cleaning emblems for adhesion, having the right supplies on hand from the start keeps the process moving without interruptions.
Preparing your grill emblem for overlay
With your tools and materials ready, focus next on prepping the emblem itself so the overlay can perform at its best. This step is where most DIYers cut corners, and it's exactly where most installations fail. Proper cleaning ensures overlays adhere well and last longer, so treat this stage as seriously as the application itself.
Follow these steps in order:
- Rinse the emblem with mild soap and water to remove loose dirt, road grime, and bug splatter. Use a soft brush if needed to get into any recessed grooves.
- Degrease the surface by wiping it down thoroughly with isopropyl alcohol on a clean microfiber cloth. Use straight, overlapping strokes rather than circular ones to avoid pushing contaminants around.
- Inspect for wax or sealant residue. If your car has been recently detailed, wax can create an invisible barrier that prevents adhesion. A second pass with alcohol usually handles this.
- Dry completely. Don't rush this. Let the emblem air dry for at least five minutes after your final wipe. Any moisture trapped under the overlay will cause lifting and bubbles.
- Check for damage. Cracks, deep chips, or peeling factory paint on the emblem can interfere with overlay adhesion. Minor imperfections are usually fine, but significant damage may require emblem replacement first.
Skipping even one cleaning step is the single most common reason overlays fail early. Adhesion is everything. A surface that looks clean to the eye can still carry enough oil or residue to ruin a perfect installation.
Pro Tip: Do your cleaning in good lighting. Natural daylight or a bright work light reveals residue and streaks that you'd miss under dim garage lighting. A quick visual check after each wipe tells you exactly where you need another pass.
For more detailed emblem cleaning tips, including how to handle emblems with chrome finishes or textured surfaces, it helps to know your specific emblem material before you start.
Applying the grill emblem overlay: Step-by-step
Once your emblem is spotless and dry, it's time for the main event: applying the overlay to transform your vehicle's look. Take a breath. This part is satisfying when done right, and the key is patience over speed.
Following each step precisely ensures a bubble-free, smooth finish that looks factory-installed rather than DIY.
- Test fit first. Hold the overlay against the emblem without peeling the backing. Use masking tape to temporarily hold it in position and step back to check alignment from a few feet away.
- Peel the backing halfway. Don't remove it completely. Fold the backing back on itself to expose just the top half of the adhesive.
- Position and press the top half down. Start at the center and work outward using your squeegee, applying firm, even pressure.
- Slowly peel away the remaining backing while pressing the rest of the overlay down in the same center-to-edge motion.
- Apply heat. Use your heat gun or hair dryer on a low setting, keeping it moving about three inches from the surface. Warmth helps the vinyl conform to any curves or raised edges on your emblem.
- Final squeegee pass. Go over the entire overlay one more time to chase out any remaining air pockets. Work from the center outward.
| Method | Pros | Cons |
|---|---|---|
| Dry application | Easier to control, no dry time needed | Less forgiving if misaligned |
| Wet application | More repositioning time | Longer dry time, risk of trapped moisture |
For most grill emblem overlays, dry application is the better choice. Grill emblems are smaller than hood or door emblems, so you have less surface area to manage.

Pro Tip: Never stretch the overlay vinyl to make it fit. If it doesn't align naturally, reposition it. Stretched vinyl will contract over time and pull away from the edges.
For a deeper look at the step-by-step overlay process, including tips for emblems with complex shapes, there's more detail available to help you nail it the first time.
Troubleshooting and long-term care
After installation, it pays to know what to expect and how to protect your work for the months and years ahead. Even a perfect installation needs a little attention over time.
Common issues and quick fixes:
- Small bubbles: Use a pin to make a tiny hole, then press the air out with your fingertip. Finish with a squeegee pass.
- Lifting edges: Apply heat to the edge, press it back down firmly, and hold for 30 seconds. A drop of vinyl adhesive promoter can help on stubborn corners.
- Misalignment noticed right away: If the adhesive hasn't fully cured (within the first hour), you can sometimes gently lift and reposition. Heat helps loosen the bond.
- Peeling after weeks: Usually a sign of inadequate surface prep. Remove the overlay, clean the emblem thoroughly, and reapply with a fresh piece.
Maintenance tips maximize the life of your custom overlays and keep colors vivid through seasons of sun, rain, and road salt.
For everyday care:
- Hand wash around the emblem when possible. Touchless car washes are fine. Brush-style automatic washes can catch edges and cause early peeling.
- Avoid high-pressure water aimed directly at the overlay edges.
- Apply a UV-protective spray or wax around (not over) the overlay every few months to protect the surrounding paint and slow edge lifting.
- Park in shade when you can. UV exposure is the top reason overlays fade before their time.
The overlay benefits go beyond looks. A well-maintained overlay also protects the factory emblem surface underneath from UV damage and minor abrasion.
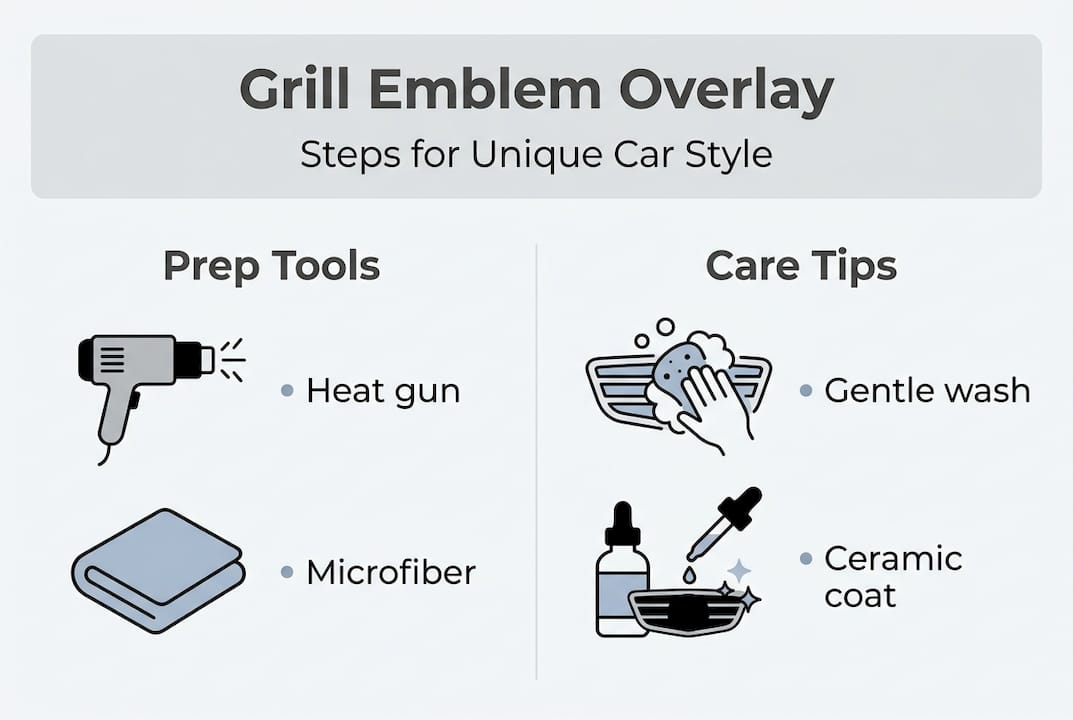
Pro Tip: A light ceramic coating applied over the overlay adds a hydrophobic layer that repels water and road grime. It also adds a glossy depth to the design that makes colors pop even more.
What most drivers miss about emblem overlays
Most of the conversation around overlays focuses on installation steps and maintenance schedules. Those matter. But there's a layer of value that rarely gets discussed, and it's the part we hear about most from our customers.
A trend in emblem customization is growing fast among Subaru and Ford owners, and it's not just about aesthetics. It's about identity. When you put your home state's flag on your Outback or Bronco, you're not just decorating a car. You're starting conversations in parking lots, at trailheads, and at car meets. People notice. People ask. And suddenly your vehicle becomes a reflection of where you're from, what you care about, and who you are.
We've heard from customers who moved across the country and use their state flag overlay as a daily reminder of home. Others use custom designs to show team loyalty, military pride, or support for a cause. The overlay is small. The meaning behind it isn't. That's the part most drivers miss when they think of overlays as just a cosmetic upgrade.
Find your perfect emblem overlay
Ready to take your Subaru or Ford's look to the next level? We've made it easy to find exactly what fits your vehicle and your personality.
Browse our full collection of handmade emblem overlays designed specifically for Subaru and Ford factory emblems. With hundreds of designs including every state flag, sports themes, and custom patterns, there's something for every driver. Each overlay is cut to fit your exact emblem size, so you get a clean, professional look right out of the package. Head over to browse emblem overlays and find the design that tells your story.
Frequently asked questions
Can I remove an emblem overlay without damaging my grill?
Yes, most vinyl overlays come off cleanly when gently heated and peeled, leaving no residue. Vinyl overlays remove cleanly with the right technique, so your factory emblem stays intact underneath.
How long do emblem overlays last on Subaru or Ford vehicles?
High-quality vinyl overlays typically last three to five years with proper care, even in harsh weather. Overlay longevity depends heavily on the vinyl grade and how well you maintain the surface.
Do overlays fit all Subaru and Ford emblem sizes?
Most overlays are made for exact emblem sizes, but you should always check your model's specs before ordering. Overlay kits offer model-specific sizing to ensure a precise fit across different trims and years.
Are overlays better than replacement emblems for customization?
Overlays are popular for cost-effectiveness and reversibility, while replacements offer a permanent change. Overlay versus replacement emblems each have distinct advantages depending on how committed you are to a particular look.
Recommended
- Master the stepwise emblem overlay process for unique car style
- Emblem overlays for Subaru and Ford: A practical guide
- Vinyl emblem overlay guide: personalize your Subaru or Ford
- Custom emblem overlays: Boost your Subaru or Ford's look
- GSI - LE Upgrade for Coco Coupes Only - Adds Custom Rims and Tints