You carefully align your new emblem overlay, press it down, and step back to admire the transformation. Within days, edges start lifting and bubbles appear. The culprit? Poor emblem cleaning before application. Proper cleaning removes contaminants that sabotage adhesion, extending overlay lifespan by up to 40%. This guide walks you through the exact steps to prepare Subaru and Ford emblems for flawless, long lasting vinyl overlay installation.
Table of Contents
- What You Need: Tools And Materials For Cleaning Emblems
- Step-By-Step Guide To Cleaning Subaru And Ford Emblems
- Troubleshooting And Common Mistakes To Avoid
- Expected Results And Final Verification Before Applying Overlays
- Enhance Your Emblem With Quality Overlays
- FAQ
Key takeaways
| Point | Details |
|---|---|
| Cleaning boosts lifespan | Proper emblem preparation increases overlay adhesion and durability by up to 40%. |
| Alcohol concentration matters | Use 70-90% isopropyl alcohol for safe, effective degreasing without damaging emblem surfaces. |
| Clay bar removes deep grime | Clay bar treatment lifts embedded contaminants that washing alone cannot remove. |
| Avoid abrasives | Harsh cleaners and rough tools scratch emblems and compromise vinyl adhesion. |
| Dry completely before application | Moisture trapped under overlays causes bubbling and premature peeling. |
What you need: tools and materials for cleaning emblems
Gathering the right supplies before you start saves time and prevents damage to your Subaru or Ford emblems. Quality materials ensure thorough cleaning without scratching or degrading the emblem surface.
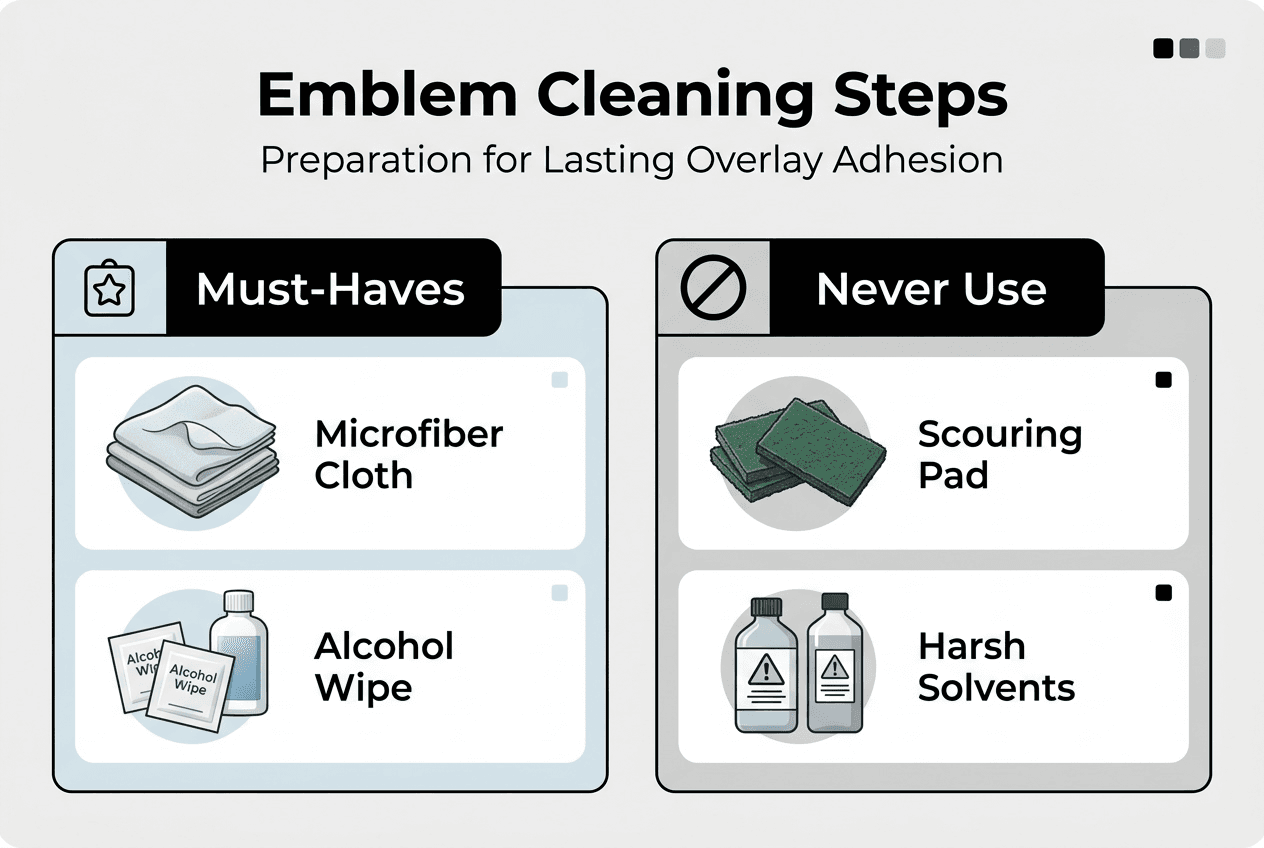
You need three categories of cleaning agents. First, using isopropyl alcohol (70-90%) is effective and safe for most emblem materials without damage. This concentration balances cleaning power with safety. Second, mild automotive soap mixed with water handles initial dirt removal. Third, a clay bar lifts embedded contaminants that washing cannot reach.
For tools, microfiber cloths are essential because they clean without scratching. Cotton swabs reach tight crevices around emblem edges. Detailing brushes with soft bristles work well for textured surfaces. A spray bottle helps apply cleaning solutions evenly.
Avoid these items completely: abrasive scouring pads, harsh solvents like acetone or lacquer thinner, and rough paper towels. These damage emblem finishes and leave residues that prevent proper vinyl adhesion.
Prepare your workspace in a shaded area away from direct sunlight. Heat accelerates drying and can leave streaks. Ensure good lighting so you can inspect the emblem thoroughly. Organize your materials within easy reach.
Pro Tip: Test any cleaning agent on an inconspicuous area of the emblem first. Apply a small amount, wait 30 seconds, then wipe clean. This prevents unexpected damage to visible surfaces.
Here is a quick reference table for recommended supplies:
| Supply Type | Recommended Product | Purpose |
|---|---|---|
| Cleaning agent | 70-90% isopropyl alcohol | Final degreasing and surface prep |
| Initial wash | Mild automotive soap | Removes surface dirt and grime |
| Deep cleaning | Clay bar kit | Lifts embedded contaminants |
| Application tools | Microfiber cloths | Scratch free wiping and drying |
| Detail work | Cotton swabs, soft brushes | Reaches crevices and textured areas |
With materials ready, you can move confidently into the actual cleaning process. Proper preparation at this stage directly impacts how well your emblem overlays adhere and perform over time.
Step-by-step guide to cleaning Subaru and Ford emblems
Follow this sequence to achieve professional level emblem preparation. Each step builds on the previous one, progressively removing contaminants for optimal overlay adhesion.
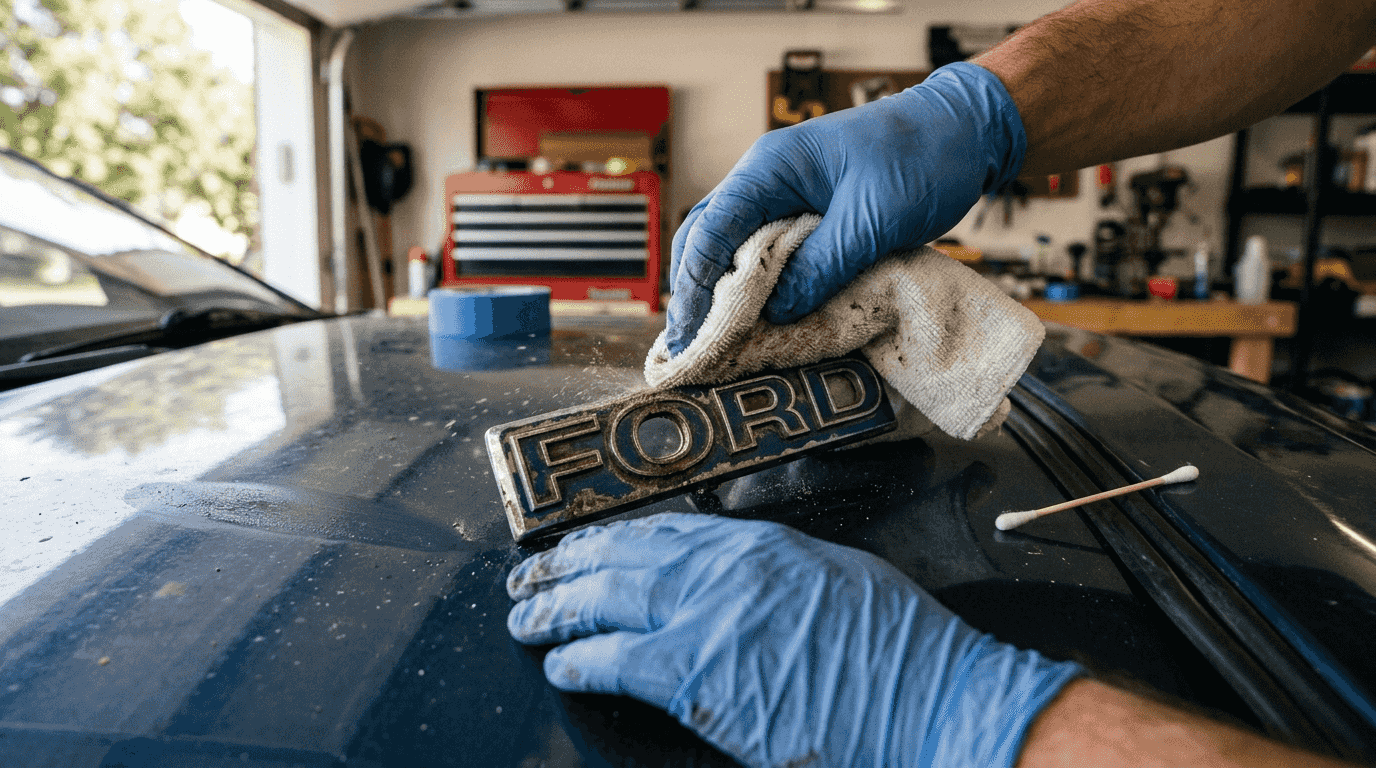
Step 1: Initial wash
Mix mild automotive soap with water in your spray bottle. Spray the emblem and surrounding area generously. Use a microfiber cloth to gently wipe away surface dirt, road grime, and loose debris. Rinse with clean water and pat dry with a fresh microfiber cloth.
Step 2: Clay bar treatment
Spray clay lubricant onto the emblem surface. Flatten a small piece of clay bar and gently glide it across the emblem using light pressure. You will feel the clay grab contaminants embedded in the surface. Clay bar usage followed by IPA cleaning yields vinyl overlay lifespans 20-30% longer than skipping this step. Fold and knead the clay frequently to expose clean surfaces. Wipe away residue with a microfiber cloth.
Step 3: Isopropyl alcohol application
Spray 70-90% isopropyl alcohol directly onto a clean microfiber cloth, not onto the emblem itself. This prevents excess liquid from seeping behind the emblem. Wipe the entire emblem surface using firm, even strokes. The alcohol dissolves oils, waxes, and remaining contaminants that compromise adhesion.
Step 4: Detail work on edges and crevices
Dip a cotton swab in isopropyl alcohol and carefully clean around emblem edges where dirt accumulates. Use detailing brushes for textured surfaces or raised lettering. Work methodically around the entire perimeter. These areas are critical because overlay edges must bond securely to prevent lifting.
Step 5: Final drying
Use a dry microfiber cloth to remove all moisture from the emblem surface. Pay special attention to crevices where liquid can pool. Allow the emblem to air dry for 3 to 5 minutes before proceeding with overlay application.
Pro Tip: Work in a circular motion when applying the clay bar, then switch to straight wiping motions for the alcohol step. This technique ensures you cover every part of the surface without missing spots.
Comparing cleaning methods shows why this complete process matters:
| Method | Contaminant Removal | Overlay Lifespan | Time Required |
|---|---|---|---|
| Soap wash only | Surface dirt only | Baseline | 5 minutes |
| Soap + alcohol | Surface + light oils | 15-20% improvement | 10 minutes |
| Complete process (soap + clay + alcohol) | All contaminants | 30-40% improvement | 20 minutes |
The extra steps deliver measurable results. When you invest 20 minutes in thorough overlay preparation steps, you protect your investment and enjoy better looking results for years.
With cleaning complete, verify your work before moving to overlay application. Proper verification catches any missed spots while you can still address them.
Troubleshooting and common mistakes to avoid
Even experienced enthusiasts make errors that undermine emblem preparation. Recognizing these pitfalls helps you avoid them and achieve professional results.
Never use abrasive tools on emblems. Steel wool, rough sponges, and scouring pads create microscopic scratches that show through vinyl overlays. These scratches also provide channels where moisture can penetrate, causing adhesion failure. Stick with soft microfiber cloths and gentle brushes designed for automotive detailing.
Avoid aggressive solvents that leave residues. Products like acetone, paint thinner, or all purpose degreasers may seem effective, but they often leave invisible films that prevent vinyl from bonding properly. Some solvents also damage emblem finishes, especially on chrome or painted surfaces. Isopropyl alcohol provides sufficient cleaning power without these risks.
Do not apply overlays to wet emblems. Even small amounts of moisture trapped between the emblem and vinyl create bubbles and weak spots. After cleaning, always allow complete drying time. Touch the surface to confirm it feels completely dry, not just visually dry.
Use gentle pressure during all cleaning steps. Excessive force during cleaning can damage emblem surface and ruin vinyl adhesion. Subaru and Ford emblems have varying surface treatments, and aggressive scrubbing can wear through protective coatings. Let your cleaning agents do the work rather than relying on elbow grease.
For detailed areas like star points on Subaru emblems or the oval edges on Ford badges, use slow, deliberate motions. Rushing through crevices leaves contaminants that cause overlay edges to lift within weeks.
Important safety note: Never apply excessive force when cleaning emblems. Gentle, methodical cleaning protects emblem integrity while achieving thorough contaminant removal. Patience during preparation prevents damage that cannot be reversed.
Watch for these warning signs that indicate improper cleaning:
- Streaks or haze visible after drying suggest residue remains
- Rough texture when you run your finger across the surface indicates embedded contaminants
- Water beading on the emblem after alcohol application means oils or waxes persist
- Sticky feeling indicates cleaning agent residue that will interfere with adhesion
If you notice any of these issues, repeat the relevant cleaning step. Taking time to correct problems now prevents overlay failure later. The goal is a perfectly clean, dry, residue free surface ready for vinyl application.
Understanding these mistakes helps you recognize quality preparation. Visit emblem overlay tips for additional guidance on achieving professional installation results.
Expected results and final verification before applying overlays
Proper cleaning transforms your emblem surface into an ideal foundation for vinyl overlays. Knowing what to look for during final verification ensures you have completed the process correctly.
Visually inspect the emblem under good lighting. The surface should appear uniformly clean with no visible dust particles, streaks, or residue. Chrome emblems should gleam without haze. Painted emblems should show their original color without dullness or discoloration. Any cloudiness suggests remaining contaminants that need additional cleaning.
Perform a touch test by running your fingertips lightly across the emblem surface. It should feel completely smooth, almost slippery. If you detect any roughness, grittiness, or sticky spots, repeat the clay bar and alcohol steps. Your fingers are sensitive enough to detect contaminants invisible to the eye.
Confirm the emblem is bone dry. Touch all edges and crevices where moisture can hide. Even a tiny amount of dampness will compromise adhesion. If you detect any moisture, use a fresh microfiber cloth to absorb it, then allow additional air drying time.
Review your cleaning checklist mentally:
- Initial soap wash completed and rinsed thoroughly
- Clay bar treatment performed across entire emblem
- Isopropyl alcohol applied to all surfaces
- Edges and crevices detailed with swabs and brushes
- Surface completely dried and verified
Pro Tip: Allow the emblem to air dry for several minutes even after towel drying. Alcohol evaporates quickly, but this extra time ensures no moisture remains in microscopic surface irregularities. Use this time to prepare your overlay and review application instructions.
Proper cleaning improves vinyl adhesion by up to 40%, preventing bubbling and peeling. This improvement translates to overlays that stay firmly attached through car washes, weather changes, and years of use. The difference between adequate cleaning and thorough cleaning becomes obvious over time.
When your emblem passes all verification steps, you have created optimal conditions for overlay application. The surface is chemically clean, mechanically smooth, and completely dry. Your overlay will bond strongly from the moment you press it down, and that bond will strengthen during the curing period.
With confidence in your preparation quality, you are ready to apply your chosen overlay design. Check overlay application readiness resources for detailed installation guidance that builds on this foundation.
Enhance your emblem with quality overlays
Now that your Subaru or Ford emblem is properly cleaned and prepared, you are ready to transform its appearance with high quality vinyl overlays. Embleminlays.com offers hundreds of designs specifically engineered to fit factory emblems perfectly, from state flags to custom colors and patterns.

Browse premium emblem overlays designed for precise fitment on both Subaru and Ford models. Each overlay is manufactured from durable vinyl that bonds strongly to properly prepared surfaces, delivering years of vibrant color and protection. The cleaning process you just completed maximizes this durability, ensuring your investment performs as intended.
Explore the complete overlay color options to find the perfect match for your vehicle's style. Whether you prefer subtle elegance or bold statements, the extensive catalog provides choices for every taste. Installation is straightforward when you start with a clean emblem surface.
Looking for the perfect gift for a Subaru or Ford enthusiast? Gift cards for overlays let them choose their favorite design while you provide a thoughtful present they will use and appreciate. Proper emblem cleaning makes gift overlays perform beautifully from day one.
FAQ
What cleaning agent is safest for Subaru and Ford emblems?
Use 70-90% isopropyl alcohol applied with a microfiber cloth for the safest, most effective cleaning. This concentration removes oils and contaminants without damaging chrome, paint, or plastic emblem materials. Avoid harsh solvents like acetone or paint thinner that can degrade finishes and leave residues.
How do I clean the tiny crevices and edges of my emblems?
Use cotton swabs dipped in isopropyl alcohol to reach tight spots around emblem perimeters and between design elements. Soft detailing brushes work well for textured surfaces and raised lettering. Apply gentle pressure and work methodically around the entire emblem to ensure complete coverage without causing damage.
Why is it important to dry emblems completely before applying overlays?
Moisture trapped between the emblem and vinyl overlay causes bubbling, weak adhesion, and premature peeling. Water interferes with the adhesive bond at a molecular level, preventing proper contact between surfaces. Always verify the emblem feels completely dry to the touch and allow air drying time after towel drying.
What common mistakes lower the success of vinyl overlays on emblems?
Using abrasive cleaners or excessive force damages emblem surfaces and creates scratches visible through vinyl. Skipping the clay bar treatment leaves embedded contaminants that prevent strong adhesion. Applying overlays to wet or dirty surfaces guarantees poor bonding and early failure. Following the complete cleaning process eliminates these issues.
How can I ensure my emblem overlays last as long as possible?
Clean thoroughly using the complete process: soap wash, clay bar treatment, and isopropyl alcohol degreasing. Avoid harsh chemicals and abrasive tools that damage the emblem or overlay. After installation, allow overlays to cure for 24 to 48 hours in dry, shaded conditions before washing your vehicle. Proper preparation and gentle care deliver maximum overlay lifespan.