Personalizing your Subaru or Ford with an emblem overlay sounds simple enough. Peel, stick, done. But plenty of enthusiasts have learned the hard way that a poorly fitted overlay can lift at the edges, mess with sensors, or fade within a season. The truth is, automotive personalization has grown into a serious craft, and emblem overlays sit right at the intersection of style and precision. This guide walks you through everything: what overlays actually are, how to measure and prep correctly, how to apply them, and how to keep them looking sharp for years.
Table of Contents
- Understanding emblem overlays: What, why, and how
- Fitment: Measuring, model nuances, and common pitfalls
- Preparing for overlay: Cleaning, prepping, and material choice
- Application and alternative methods: Overlay install and DIY painting
- Maintaining and protecting your customized emblem
- Upgrade your ride with premium emblem overlays
- Frequently asked questions
Key Takeaways
| Point | Details |
|---|---|
| Test fitment for each model | Grille and tailgate sizes vary by year and trim, so always measure before buying overlays. |
| Prep surface for durability | Careful cleaning and quality materials ensure overlays last and resist fading or lifting. |
| DIY options are possible | Painting factory emblems and using epoxy creates unique looks without expensive replacements. |
| Watch for sensor issues | Overlay on sensor-equipped emblems can interfere, so check compatibility first. |
| Protect overlays from the sun | UV-resistant vinyl and proper install are essential for lasting color and finish. |
Understanding emblem overlays: What, why, and how
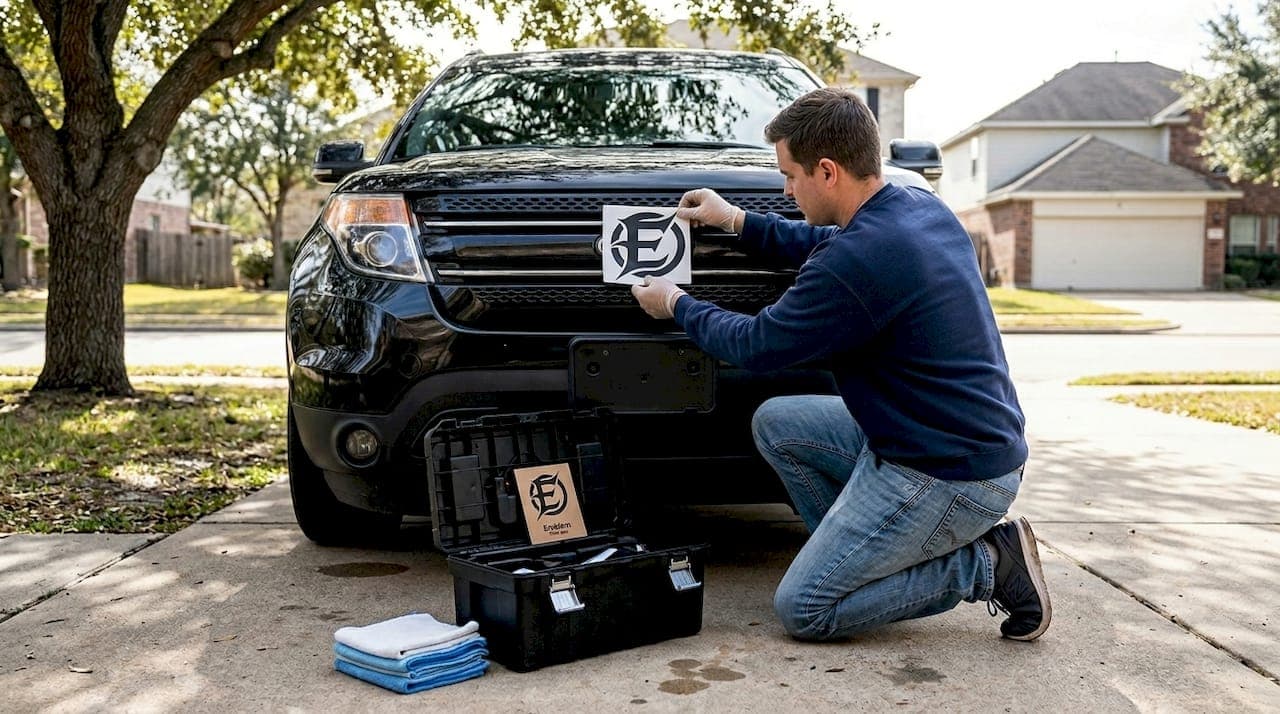
An emblem overlay is a precision-cut vinyl sticker designed to sit directly on top of your factory emblem. It does not replace the emblem. It covers it, transforming the look without any drilling, painting, or permanent modification. That distinction matters because it means the process is reversible, which is a big deal for anyone who leases their vehicle or plans to resell it.
The appeal is real. You can swap a plain chrome Subaru star cluster for a Texas flag design, or turn a standard Ford oval into something that reflects your personality. We offer hundreds of emblem art designs for exactly this reason. But the misconception that trips people up is assuming any overlay will fit any emblem. It will not.
Here are the key perks and pitfalls to know before you order:
- Perks: Reversible, no permanent modification, wide design variety, relatively affordable, no special tools required
- Perks: Adds a personal identity layer to a stock vehicle, as explored in identity through car emblems
- Pitfalls: Edge lifting can occur on curved surfaces if prep is skipped
- Pitfalls: Sensor interference is possible on certain grille emblems
- Pitfalls: Fading, edge lifting, and sensor issues are real risks when quality or installation is poor
"The biggest mistakes happen before the overlay even touches the car. Skipping prep, ignoring curvature, and buying cheap vinyl are the three fastest ways to ruin a good idea."
Understanding these risks upfront puts you in a much stronger position. The goal is not to scare you off overlays. It is to make sure your first install looks like it was done by someone who knew what they were doing.
Fitment: Measuring, model nuances, and common pitfalls
Fitment is where most overlay projects go wrong. A Ford F-150 grille emblem is not the same size as a Ford Explorer tailgate emblem. A 2019 Subaru Outback emblem may have different curvature than a 2023 model. These differences are not minor. An overlay that overhangs by even a few millimeters looks sloppy and will peel faster.
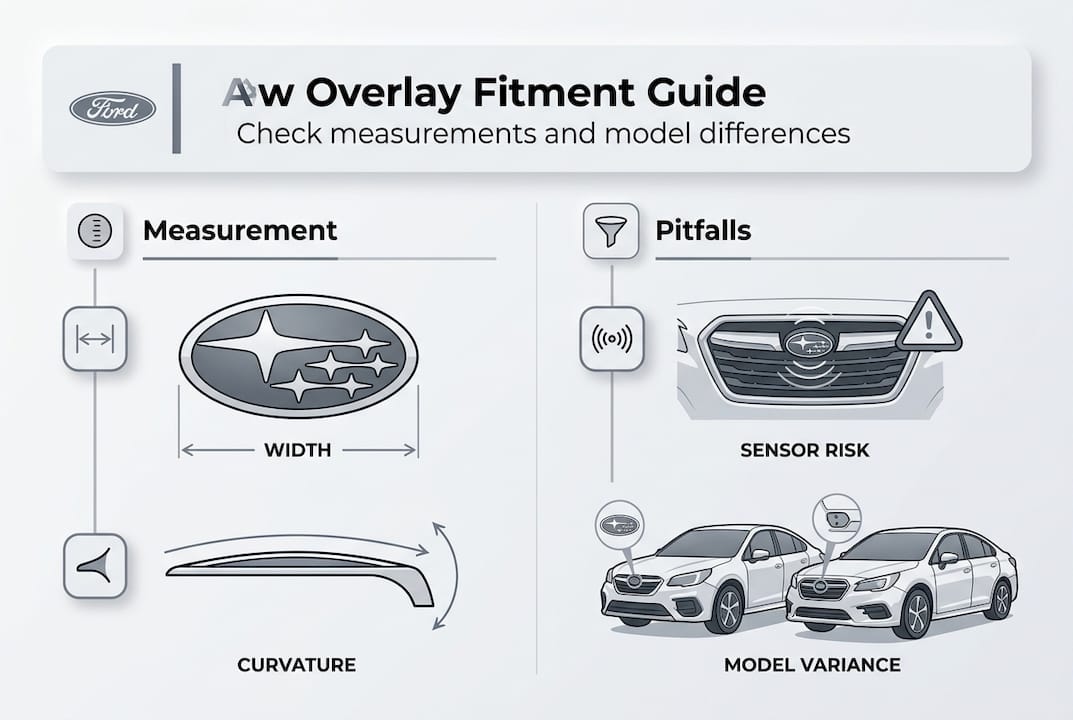
The Ford emblem size chart makes it clear: you must verify fitment by model, year, and trim because curvature differences are real, and imprecise measurement leads to overhang or gaps. Sensor-equipped emblems add another layer of complexity. Some Ford grille emblems house radar sensors for adaptive cruise control. Putting an overlay on one of those without confirming compatibility can interfere with the system.
Here is how to measure your emblem accurately:
- Use a flexible tape measure or a piece of string to follow the emblem's curve, not a rigid ruler
- Measure the widest horizontal point and the tallest vertical point
- Note whether the emblem is flat or has a pronounced dome shape
- Check your vehicle's build sheet or owner's manual to confirm whether your grille emblem contains a sensor
- Cross-reference your measurements with the product's fitment guide before ordering
| Location | Typical size range | Curvature level | Sensor risk |
|---|---|---|---|
| Grille (Ford) | 6 to 8 inches wide | High | Moderate to high |
| Tailgate (Ford) | 5 to 7 inches wide | Low to moderate | Low |
| Hood/trunk (Subaru) | 3 to 5 inches wide | Low | Very low |
| Steering wheel (Subaru) | 2 to 3 inches wide | Flat | None |
Pro Tip: Always double-check your measurements twice before ordering. A few minutes with a tape measure saves you the frustration of a return and a delayed install. Check out the stepwise overlay process for a full walkthrough once your fitment is confirmed.
Once measurement is understood and fitment ensured, we move on to preparing the emblem surface itself.
Preparing for overlay: Cleaning, prepping, and material choice
You can have the perfect overlay and still ruin the install if the surface underneath is not clean. Oils, wax residue, and road grime all prevent adhesive from bonding properly. This is the step most people rush, and it is the step that determines whether your overlay lasts two months or two years.
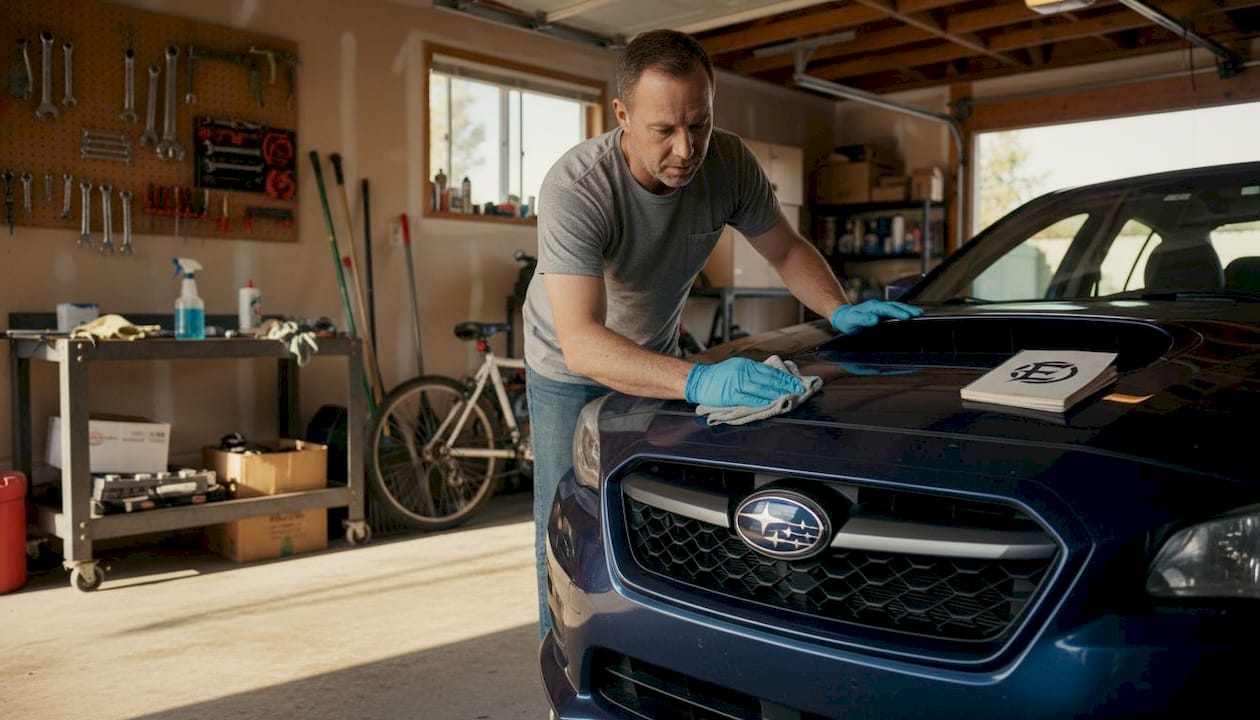
The emblem cleaning steps are straightforward but non-negotiable. Start with a mild detergent wash to remove surface dirt. Follow with an isopropyl alcohol wipe to strip any wax or oil. Let the surface dry completely before touching the overlay. Do not use oil-based cleaners, silicone sprays, or anything with a conditioner in it. These leave a film that kills adhesion.
Here is a quick prep checklist:
- Wash the emblem with mild soap and warm water
- Dry thoroughly with a lint-free cloth
- Wipe down with 70% or higher isopropyl alcohol
- Allow 10 to 15 minutes of air-dry time before applying
- Work in a shaded area or indoors to avoid heat affecting the adhesive
- Avoid touching the emblem surface with bare hands after cleaning
Material choice also matters. Quality vinyl with a UV-resistant laminate is the standard for overlays that hold up. Epoxy-coated overlays offer extra rigidity and a glossy finish, which some enthusiasts prefer for a premium look. Double-sided tape is sometimes used for heavier overlays, but for standard vinyl, the built-in adhesive is usually sufficient. As the Ford Explorer ST forum community has noted, using quality vinyl and proper installation is the most reliable way to avoid common problems.
Pro Tip: Avoid oil-based cleaners entirely. Even a small amount of residue from a spray detailer can cause the overlay to lift within weeks, especially on curved surfaces exposed to heat.
With a well-prepped emblem, you are ready to apply your overlay or explore alternative customization methods.
Application and alternative methods: Overlay install and DIY painting
Installing a vinyl emblem overlay is not complicated, but it does reward patience. Rushing the alignment step is the number one cause of crooked installs. Take your time here.
Common mistakes and how to fix them:
- Misalignment on first press: Use masking tape as a hinge to hold the overlay in position before committing. Peel one side, align, then press down gradually
- Air bubbles: Work from the center outward using a soft squeegee or credit card. Small bubbles often disappear within 24 to 48 hours in warm conditions
- Edge lifting immediately after install: This usually means the surface was not clean enough or the temperature was too cold. Gently lift, re-clean, and reapply
- Overlay not sticking to curved surface: Apply gentle heat with a hair dryer on low to make the vinyl more pliable before pressing it into the curve
For those who want to go further, there is a popular DIY painting method for Ford emblems. According to Blue Oval Tech, you can remove the emblem, mask the chrome border, paint the blue oval section with your chosen color, apply an epoxy clear coat for protection, and reinstall using double-sided tape. It takes more time than a vinyl overlay, but the result is a fully custom look that is unique to your vehicle.
| Method | Durability | UV resistance | Reversibility | Skill level |
|---|---|---|---|---|
| Vinyl overlay | 3 to 5 years | High (with laminate) | Easy | Beginner |
| Epoxy overlay | 5 plus years | Very high | Moderate | Intermediate |
| DIY paint | 2 to 4 years | Moderate | Difficult | Advanced |
| Double-sided tape reinstall | Varies | N/A | Easy | Beginner |
For a detailed walkthrough of the Ford-specific process, the Ford emblem customization steps guide covers each stage clearly. And if you have ever wondered why people bother changing factory emblems at all, the reasons for changing factory emblems article lays it out well.
Maintaining and protecting your customized emblem
Getting the overlay on correctly is only half the job. Keeping it looking good over time requires a simple but consistent care routine. The good news is that it does not take much effort once you know what to avoid.
Do's and don'ts for emblem overlay maintenance:
- Do rinse the emblem gently during regular car washes
- Do apply a UV-protective spray or wax over the overlay every few months
- Do inspect edges periodically and press down any lifting corners before they worsen
- Don't use high-pressure washers aimed directly at the emblem edges
- Don't use abrasive polishes or compounds on or near the overlay
- Don't park in direct sun for extended periods if you can avoid it
UV exposure is the biggest long-term threat to any vinyl overlay. Heat accelerates adhesive breakdown, and prolonged sun exposure causes color shift in lower-quality materials. The vinyl overlay durability breakdown explains how material grade directly affects lifespan. Choosing a UV-laminated overlay from the start is the single best investment you can make for longevity.
"Quality vinyl with UV laminate, installed on a properly cleaned surface, can realistically last three to five years even in harsh climates. The material does the heavy lifting. Your job is to not undermine it with poor prep or aggressive washing."
As the Ford Explorer ST community has pointed out, fading in extreme sun is a real concern, but it is largely preventable with the right materials and a basic care routine. Treat your overlay like you would a paint protection film and it will reward you with years of clean, sharp appearance.
Upgrade your ride with premium emblem overlays
You now have a solid foundation: you know how overlays work, how to measure for fitment, how to prep and apply them, and how to keep them looking great. The next step is finding designs that actually reflect your style.
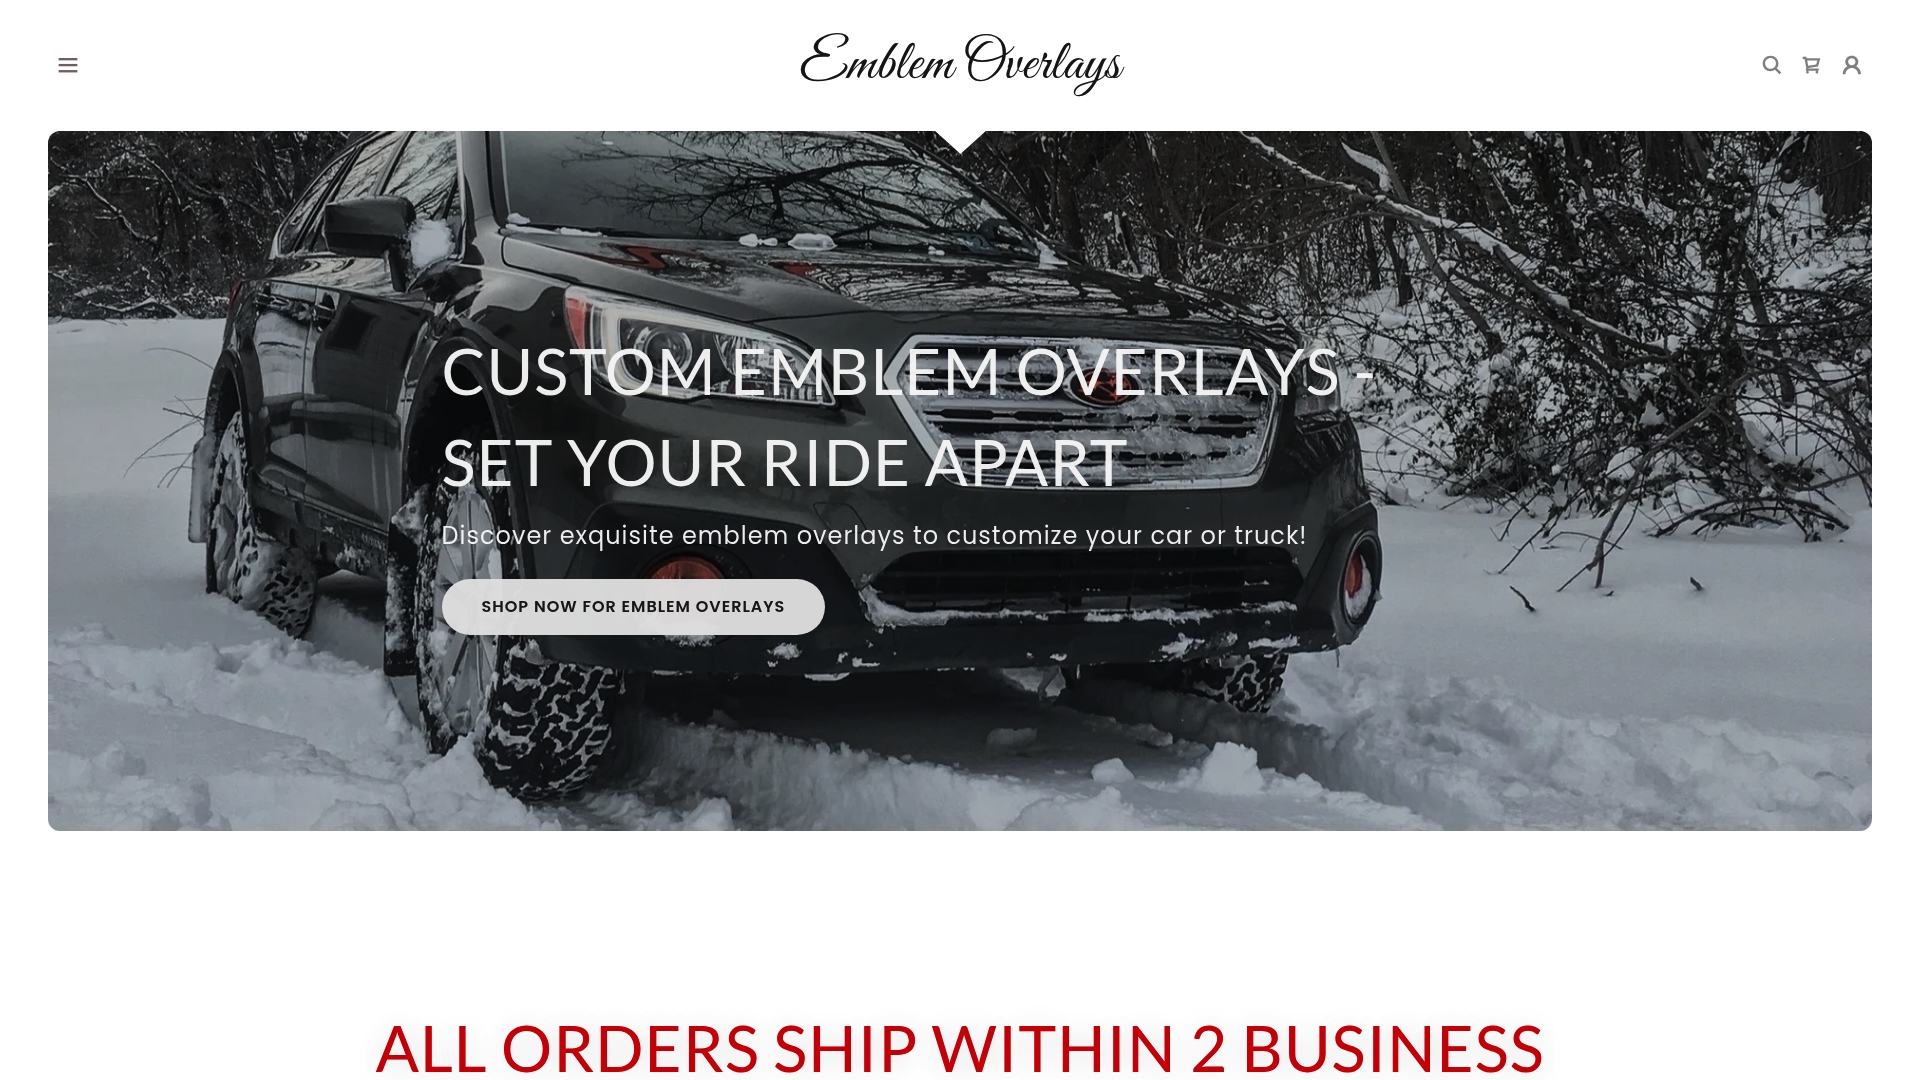
At Emblem Inlays, we make handmade vinyl emblem overlays built specifically for Subaru and Ford vehicles. We carry hundreds of designs, including every state flag, so whether you want to rep your home state or go bold with a custom pattern, there is something here for you. Every overlay is cut to fit your specific model and year. If you want to see what is possible, browse our handmade emblem overlay options and find the design that makes your vehicle yours.
Frequently asked questions
How do I know which overlay size fits my Subaru or Ford?
Check fitment by your specific model, year, and trim, and compare grille versus tailgate dimensions using a flexible tape measure. Always verify sensor-equipped emblems separately before ordering to avoid compatibility issues.
Can emblem overlays interfere with my vehicle's sensors?
Yes, it is possible on certain grille emblems that house radar or camera sensors. Avoid overlays on sensor-equipped emblems unless you have confirmed compatibility with the manufacturer or product listing.
How do I keep my emblem overlay from fading in the sun?
Choose a UV-laminated vinyl overlay and apply a UV-protective spray every few months. Quality vinyl and proper install are the two biggest factors in preventing premature fading, especially in hot or sunny climates.
What's a simple DIY method for customizing my factory Ford emblem?
Remove the emblem, mask the chrome border, paint the oval in your chosen color, and seal it with an epoxy clear coat. The DIY painting method uses double-sided tape for reinstallation and gives you a fully custom result without buying a new emblem.