TL;DR:
- Badge overlays are an affordable way to customize and personalize your Ford's appearance.
- Proper surface prep and patience are essential for a flawless, long-lasting installation.
- DIY overlay application offers a cost-effective and rewarding alternative to professional services.
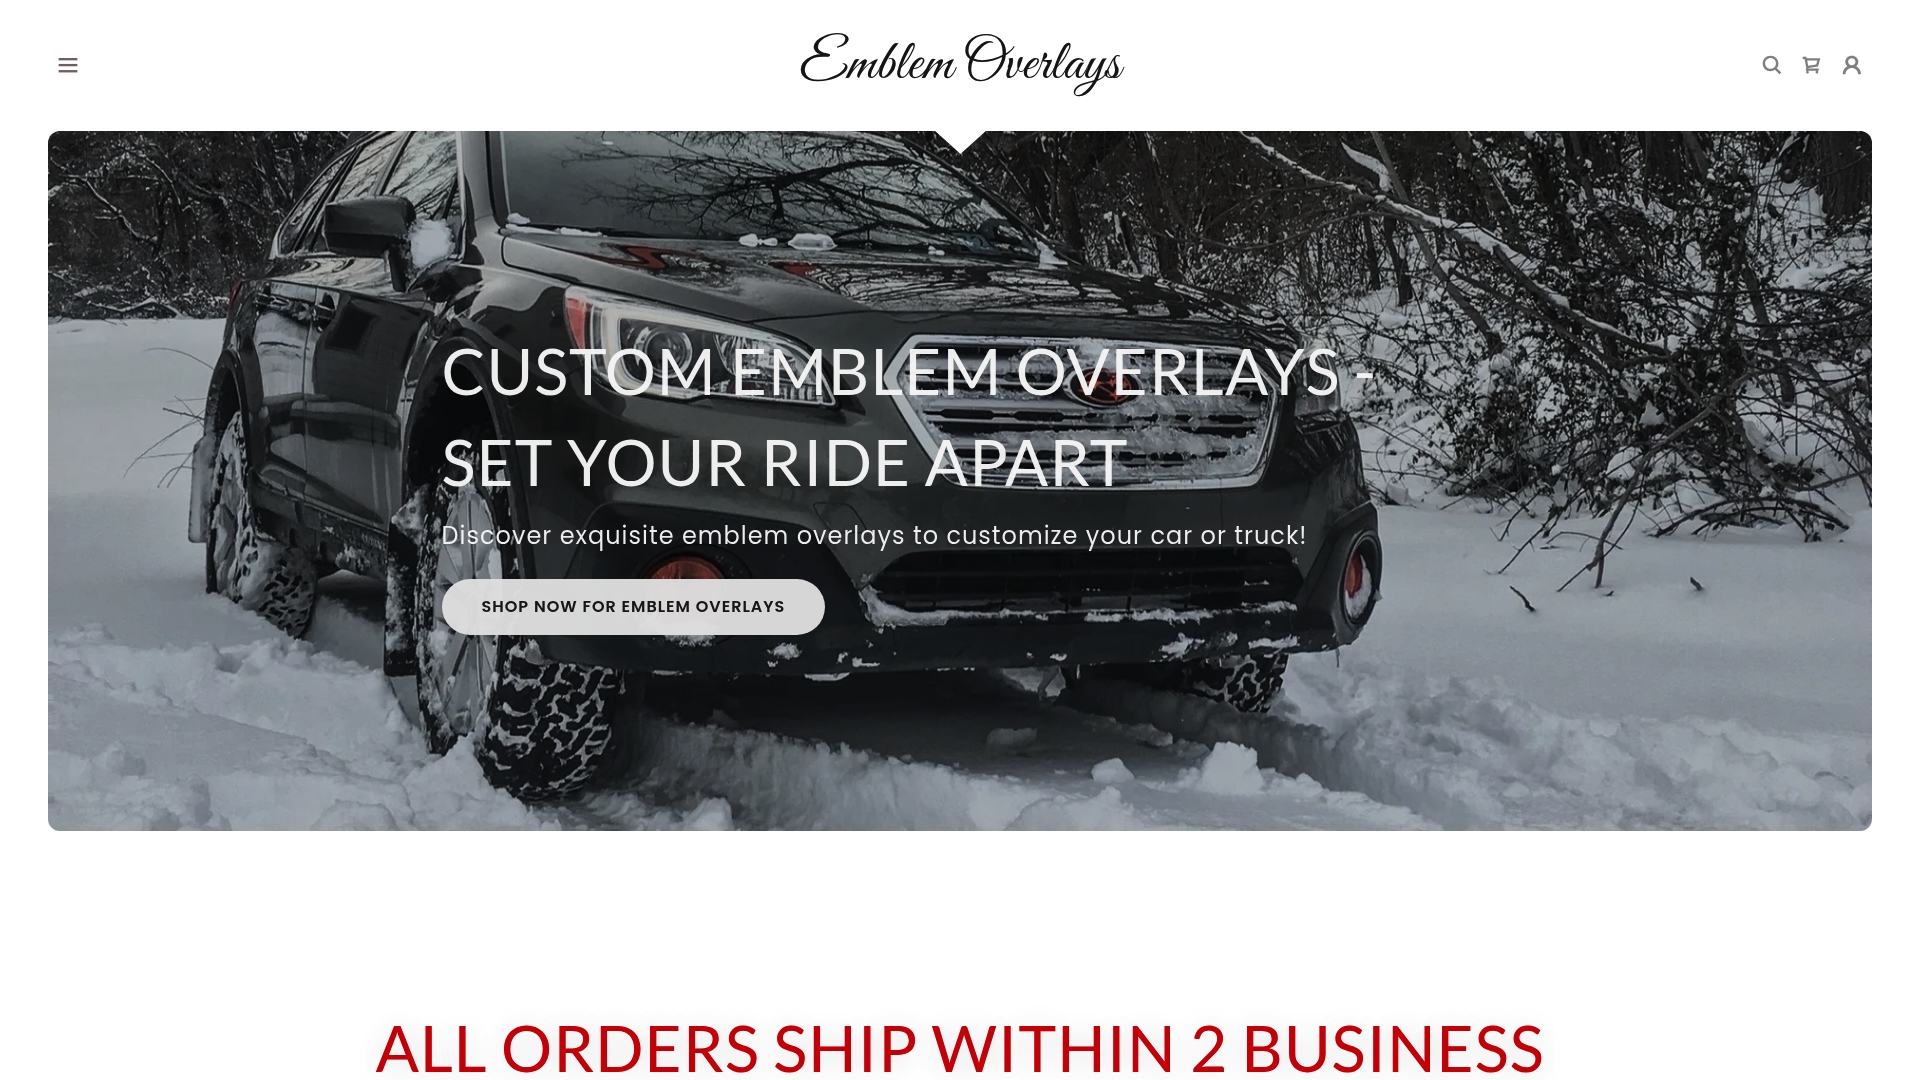
Your Ford rolls off the lot looking exactly like every other Ford on the block. Same oval badge, same finish, same everything. If you've ever pulled up next to an identical truck or SUV and felt a flicker of "I need something different," you're not alone. Badge overlays are one of the fastest, most affordable ways to make your Ford feel genuinely yours, and this guide walks you through every step, from gathering tools to final inspection, so you get clean, professional results even on your very first install.
Table of Contents
- Gathering the essential tools and materials
- Prepping your Ford emblem for a flawless install
- Step-by-step vinyl overlay application
- Troubleshooting and avoiding common mistakes
- Showcasing your results and ensuring lasting impact
- Why DIY badge overlays are more rewarding than you think
- Ready to customize your Ford? Shop premium badge overlays
- Frequently asked questions
Key Takeaways
| Point | Details |
|---|---|
| Gather quality materials | Having the right overlays, tools, and cleaning supplies prevents delays and mistakes. |
| Prep thoroughly | Cleaning your emblem is essential for strong, long-lasting adhesion of the overlay. |
| Follow install steps | Careful alignment and smoothing produce flawless, bubble-free results—even for first-timers. |
| Fix mistakes confidently | Most errors like bubbles or edges can be fixed on the spot with simple techniques. |
| Care for overlays | Regular gentle cleaning and UV protection keep overlays looking sharp for years. |
Gathering the essential tools and materials
With your goal in mind, let's start by ensuring you have every tool and material needed on hand.
Walking into this project without the right supplies is the single fastest way to end up frustrated halfway through. A missing squeegee or the wrong cleaning solution can stall your install and force you to start over. Gather everything before you touch the emblem.
Here's what you'll need:
- Vinyl emblem overlay (cut to fit your specific Ford model and badge shape)
- Isopropyl alcohol, 70% or higher (for degreasing the badge surface)
- Microfiber cloths (lint-free, at least two)
- Plastic squeegee or felt-edge squeegee (for smoothing out bubbles)
- Painter's tape (to protect surrounding paint and guide alignment)
- Heat gun or hair dryer (to warm vinyl for better adhesion on curved surfaces)
- Tweezers (for handling small overlay edges)
- Spray bottle with water (only needed for wet application method)
Not all overlays are created equal. Overlay types and quality directly affect how your finished badge looks and how long it stays looking that way. Cast vinyl, for example, conforms to contours better than calendered vinyl, making it the preferred choice for three-dimensional Ford badges. Generic, low-cost vinyl tends to shrink, bubble, or peel within months, especially when exposed to sun and car washes.
| Tool | Purpose | Why it matters |
|---|---|---|
| Isopropyl alcohol | Degrease surface | Removes oils that prevent adhesion |
| Microfiber cloth | Apply cleaner and dry | Prevents lint contamination |
| Squeegee | Smooth overlay | Eliminates bubbles and wrinkles |
| Heat gun | Warm vinyl | Helps overlay conform to curves |
| Painter's tape | Outline and protect | Guards paint, guides alignment |
Pro Tip: Set up in a garage or shaded area on a calm day. Wind carries dust that can get trapped under the overlay before you finish smoothing it down.
Prepping your Ford emblem for a flawless install
Now that tools and overlays are ready, set up optimal conditions for long-lasting adhesion by prepping your badge.
This is the step most people rush, and it's the one that matters most. Meticulous cleaning is the most important foundation for lasting overlays. Even invisible fingerprints or wax residue can cause the adhesive to fail within weeks.
Follow these steps in order:
- Rinse the emblem area with clean water to remove loose dirt and road grime.
- Apply painter's tape around the perimeter of the badge so cleaning agents don't drip onto your paint or clear coat.
- Soak a microfiber cloth with isopropyl alcohol and wipe the badge surface firmly in one direction.
- Flip the cloth to a clean section and wipe again, this time in the opposite direction.
- Let the surface dry completely for at least two minutes. Do not blow on it or use a paper towel.
- Inspect under good lighting for any remaining residue, wax streaks, or oily patches. Repeat the alcohol wipe if needed.
- Avoid touching the badge surface with bare fingers after cleaning. Skin oils transfer instantly.
"Skipping or rushing the cleaning step is responsible for the majority of overlay failures within the first 30 days. A clean surface isn't just helpful — it's the entire foundation of a lasting install."
Common mistakes at this stage include using household glass cleaner (which leaves a film), scrubbing too hard with abrasive materials (which scratches the badge finish), or cleaning in direct sunlight (which causes the alcohol to evaporate before it can lift oils). Each of these errors creates a surface that looks clean but isn't adhesion-ready.
![]()
Pro Tip: Use painter's tape to outline the emblem before you start cleaning. This protects your paint and gives you a clear visual boundary so you know exactly where your overlay needs to land.
Step-by-step vinyl overlay application
With your emblem spotless, you're ready to bring your vision to life. Here's the critical install sequence.
The actual application is where patience pays off. Rushing through this part is how you get crooked overlays and trapped bubbles. Read through all the steps once before you begin, then go back and execute them one at a time.
- Dry-fit the overlay first. Hold the overlay over the badge without removing the backing. Check that it covers the badge correctly and that the design is oriented the right way.
- Mark your alignment. Use small pieces of painter's tape on the edges of the overlay (while the backing is still on) to mark exactly where it should land.
- Peel back a small section of the backing, about a quarter of the overlay. Do not remove the entire backing at once.
- Align the exposed edge to your tape markers and press it down gently.
- Slowly peel the rest of the backing while pressing the overlay down from the center outward using your squeegee or a microfiber-wrapped credit card.
- Work in short strokes, always moving from the center toward the edges to push air out rather than trapping it.
- Apply light heat with a hair dryer or heat gun on low setting to help the vinyl conform to any curves or raised lettering.
- Press the edges firmly with your fingernail or a soft tool to lock down the perimeter.
- Do a final pass with the squeegee over the entire overlay surface to ensure full contact.
Following the right workflow, as outlined in this stepwise vinyl guide, prevents the most common overlay installation problems before they start. If you want a visual walkthrough alongside these instructions, this Ford overlay tutorial is a great companion resource.
Dry vs. wet application: which is right for you?
| Method | Pros | Cons |
|---|---|---|
| Dry application | Faster, no drying time, cleaner process | Less room to reposition if misaligned |
| Wet application | Allows repositioning, reduces static | Longer drying time, risk of trapped moisture |
For most Ford badge overlays, dry application is the better choice. The badges are relatively small, which means you have a short distance to cover and less risk of misalignment. Wet application makes more sense for larger vinyl projects like hood stripes or full panel wraps.
![]()
Pro Tip: Before you peel the real overlay, practice your hand motion by going through the entire sequence with a scrap piece of vinyl on a flat surface. Muscle memory matters more than you'd expect when you're working against a clock.
Troubleshooting and avoiding common mistakes
Once the overlay is on, you may run into a few hiccups. Don't worry, here's how to tackle them.
Most first-time installers hit at least one snag. That's completely normal. Most mistakes can be fixed without damaging the overlay, as long as you act quickly and stay calm.
Here are the five most common problems and exactly how to fix them:
- Small bubbles under the overlay: Use a pin to make a tiny hole at the edge of the bubble, then press the air out with your fingertip or squeegee. Apply light heat to help the vinyl re-seal.
- Wrinkles or creases: Gently lift the affected section while applying heat with a hair dryer. The vinyl will soften and allow you to smooth it back down without tearing.
- Crooked alignment: If you catch it within the first few seconds, lift the overlay carefully from one edge and reposition. Vinyl adhesive is forgiving at room temperature for a brief window.
- Edge lifting: Press the edge back down firmly and apply heat to reactivate the adhesive. If the edge keeps lifting, a small drop of vinyl-safe adhesive promoter can help.
- Dust or lint trapped under the overlay: Lift the nearest edge, remove the particle with tweezers, and smooth the overlay back down immediately.
If you want a deeper look at avoiding these problems before they happen, this practical mistakes guide covers real-world scenarios in detail. You can also browse custom overlay examples to see how finished installs should look and compare against your own work.
Pro Tip: If you're nervous about your first install, buy an extra overlay and practice on a spare emblem or even a curved household surface with a similar profile. The confidence you build on a test run is worth every penny.
Showcasing your results and ensuring lasting impact
Finally, let's make sure your work looks great for the long haul and share some inspiration.
You've applied the overlay and it looks sharp. Before you call it done, run a thorough final inspection. Use your fingernail or a soft tool to trace the entire perimeter of the overlay, pressing down any sections that feel slightly raised. Check the corners and edges under bright light, because that's where lifting typically starts.
Now focus on long-term care:
- Hand wash when possible. Automated car washes with spinning brushes can catch overlay edges and start a peel. If you must use one, choose a touchless wash.
- Apply a UV-protective detailing spray over the badge area every few months. UV exposure is the primary cause of vinyl fading, especially on darker colors.
- Avoid high-pressure washing directly at the badge edges. Keep the nozzle at a wider angle and maintain at least 12 inches of distance.
- If you want to remove the overlay later, use a heat gun to warm the vinyl evenly, then peel slowly from one corner. Residual adhesive can be removed with isopropyl alcohol.
- Inspect the edges seasonally, especially after winter months when temperature swings can stress the adhesive bond.
Proper aftercare guarantees overlays remain vibrant and secure for years, not just months. For more ways to elevate your Ford's look beyond the badge, these style personalization tips are worth exploring. And if you want some visual motivation for your next project, check out this Ford F-150 inspiration gallery.
Pro Tip: Snap a before-and-after photo the day you finish your install. It's satisfying to look back on, and sharing it in Ford owner communities often sparks great conversations and inspires others to try their own customization.
Why DIY badge overlays are more rewarding than you think
There's a narrative in car culture that real customization requires a professional shop, specialized tools, and years of experience. We'd push back on that pretty hard. Badge overlays are one of the few automotive modifications where a first-timer can genuinely achieve professional-looking results by following a clear process.
But the reward goes beyond the finished look. When you install your own overlay, that badge becomes a signature. It's not something you ordered and bolted on. You chose the design, prepped the surface, aligned it carefully, and smoothed it down with your own hands. That's a different kind of ownership.
There's also a practical argument. Professional detailers and wrap shops charge anywhere from $50 to $150 just for a badge overlay install, not counting the cost of the overlay itself. Doing it yourself costs you maybe 30 minutes and a few dollars in supplies. The overlay material insights available today mean you're not sacrificing quality to save money either.
The contrarian truth is this: most people who hesitate to try DIY badge overlays overestimate the difficulty and underestimate their own ability to follow instructions. The steps aren't complicated. The tools are inexpensive. The materials are forgiving. What separates a great install from a poor one isn't skill level. It's patience and preparation. Both of those are completely within your control.
Even if your first attempt has a small bubble or a slightly off-center edge, that imperfection is yours. It tells the story of the first time you decided your car should look exactly the way you want it to.
Ready to customize your Ford? Shop premium badge overlays
If this tutorial has you ready to start your own transformation, the next step is finding an overlay that matches your vision.
At Emblem Inlays, we design vinyl emblem overlays specifically for Ford vehicles, with hundreds of styles to choose from including all 50 state flags, bold graphics, and classic finishes. Every overlay is crafted to fit your factory badge precisely, so the alignment work we walked through above is as straightforward as possible. Visit shop emblem overlays to browse the full catalog and find the design that fits your Ford's personality. Want to understand what makes a quality overlay worth the investment before you buy? This breakdown of handmade overlay benefits explains exactly what sets premium overlays apart from generic alternatives.
Frequently asked questions
Will badge overlays damage the original Ford emblem?
High-quality vinyl overlays are designed to be removable and generally will not damage your original badge if applied and removed carefully. Using heat during removal makes the process even safer.
How long do Ford badge overlays typically last?
With proper prep and care, most premium overlays last several years without fading or peeling. As noted in overlay care guidance, consistent aftercare is the biggest factor in longevity.
Can I apply overlays over damaged or scratched factory badges?
Overlays can cover minor scratches, but deep gouges or loose emblems can cause poor adhesion and should be addressed before installation. A fully clean and stable surface is essential for the adhesive to bond correctly.
What is the difference between dry and wet vinyl application?
Dry application is faster and cleaner, while wet application allows repositioning but takes extra time to dry. The right workflow for your specific overlay size and skill level determines which method makes more sense.
Do badge overlays come in different finishes and styles?
Yes, overlays are available in various colors, textures, and custom graphics for many Ford models. Quality overlay options include matte, gloss, carbon fiber texture, and full custom designs like state flags.