TL;DR:
- Proper preparation and careful techniques are essential for a professional-looking badge replacement on Subaru and Ford vehicles.
- Using the right tools, working in optimal temperatures, and masking the badge outline prevent misalignment, damage, and premature failure of overlays.
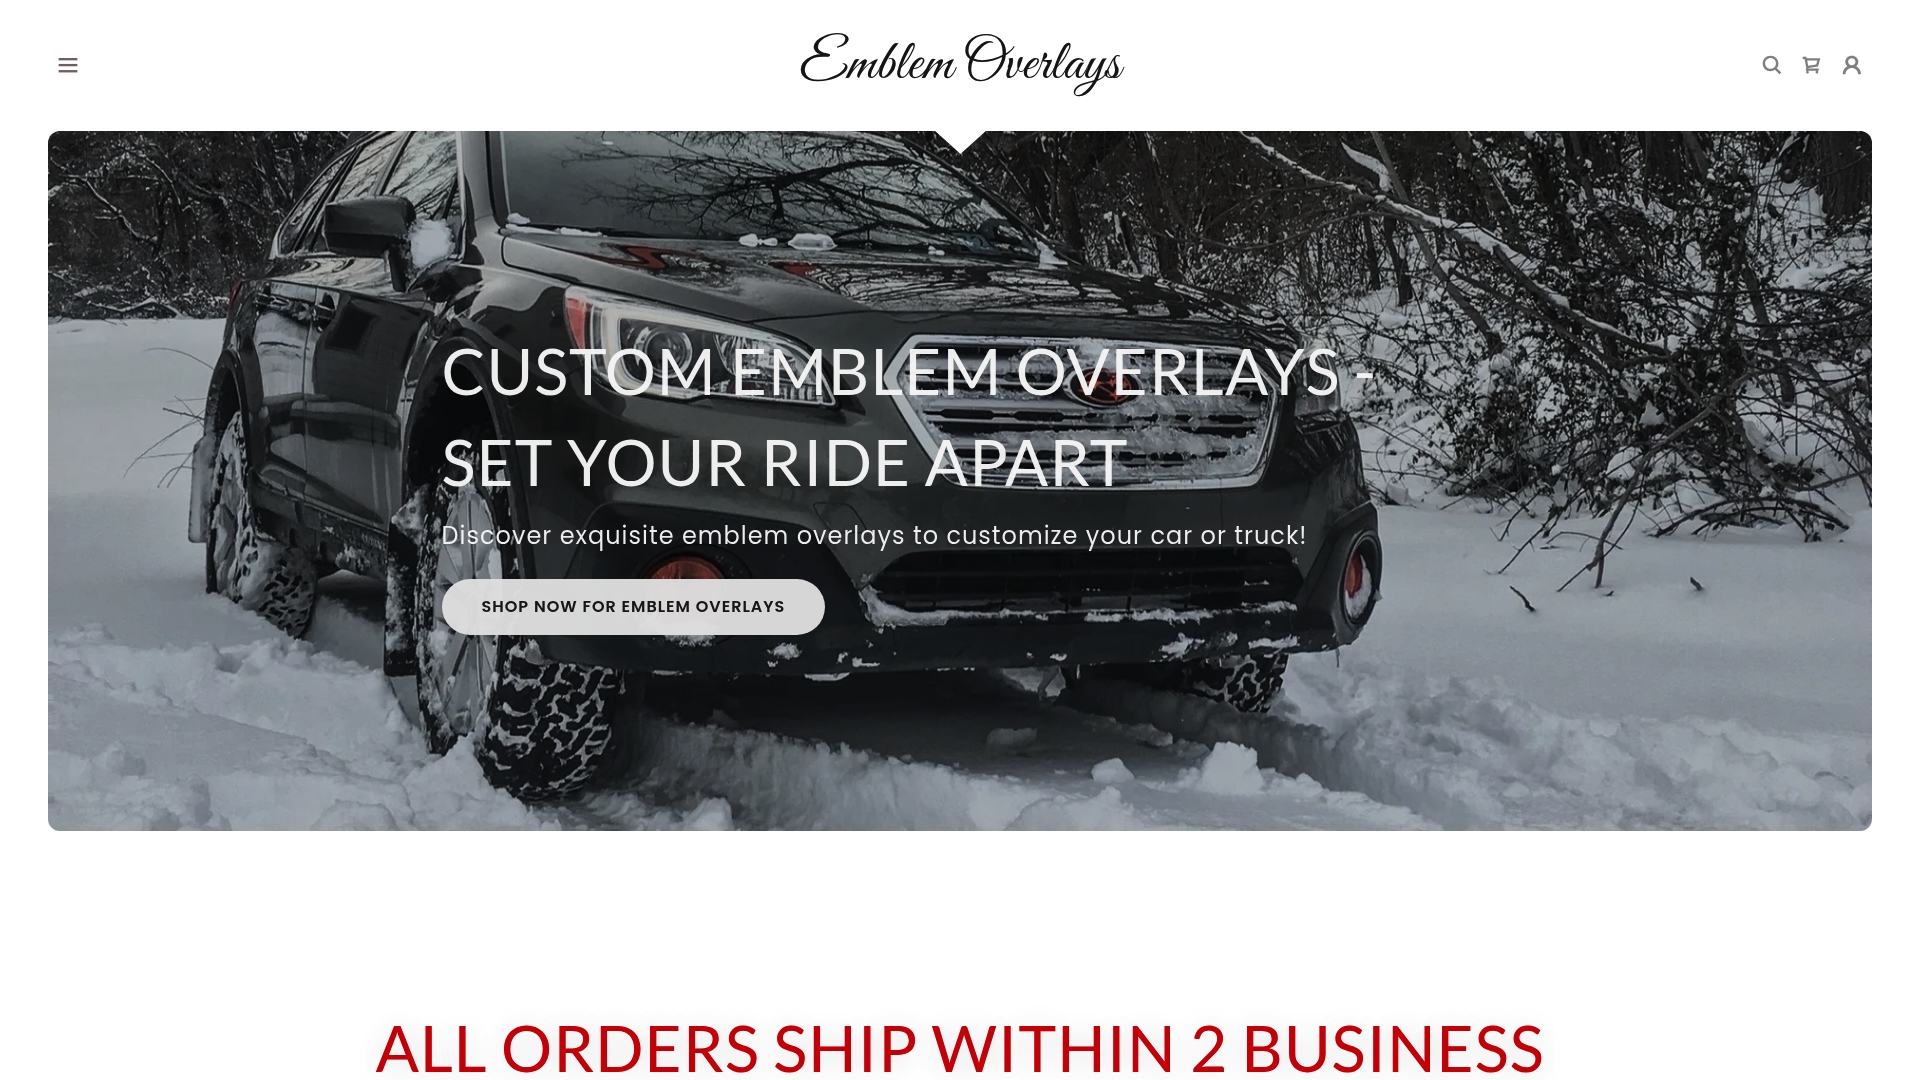
Your Subaru's star emblem is fading. Your Ford F-150 tailgate badge is cracked and yellowed. These things happen, and staring at a tired factory badge every time you walk to your car gets old fast. A proper step-by-step car badge replacement is easier than most owners expect, but the gap between a clean result and a scratched bumper or crooked overlay comes down entirely to approach. This guide covers every stage of the process, from gathering tools to curing your new vinyl overlay, so you get a professional-looking result the first time.
Table of Contents
- Tools and materials overview for badge replacement
- Preparing your Subaru or Ford for badge removal and vinyl overlay installation
- Step-by-step guide to removing factory badges safely
- Installing vinyl overlays and new emblems on Subaru and Ford vehicles
- Verification, common mistakes, and maintenance tips for lasting badge appearance
- Why meticulous preparation is the key to flawless badge replacement
- Discover quality vinyl overlays and badge replacement solutions
- Frequently asked questions
Key Takeaways
| Point | Details |
|---|---|
| Preparation matters | Thorough cleaning and marking ensure precise badge removal and installation without paint damage. |
| Use proper tools | Heat guns, dental floss, and adhesive removers make badge removal safe and effective. |
| Temperature control | Apply overlays between 60-80°F to guarantee durable adhesion and prevent failures. |
| Patience prevents mistakes | Slow, careful removal and installation avoid breaking clips and misalignments. |
| Maintenance extends life | Gentle cleaning and avoiding moisture during curing preserve overlay appearance for years. |
Tools and materials overview for badge replacement
Before you touch the car, gather everything you need. Stopping mid-removal to hunt for a microfiber cloth is how badges get damaged. Think of this as your pre-flight checklist.
What you need:
- Heat gun or hair dryer (most owners already have the latter)
- Unwaxed dental floss or fishing line (20-30 lb monofilament works great)
- Automotive adhesive remover such as Goo Gone Automotive
- Plastic trim removal tools (never use metal near paint)
- Microfiber cloths, at least two
- Mild car wash soap
- Masking tape
- Isopropyl alcohol (90% or higher) for surface prep
- Vinyl emblem overlays with included alcohol prep wipes
The good news is that badge removal time runs just 10 to 20 minutes when you have heat, dental floss, and adhesive remover on hand. That estimate assumes no panic, no improvising, and no metal tools scraping at the paint.
| Tool | Purpose | Substitute |
|---|---|---|
| Heat gun or hair dryer | Softens factory adhesive | Heat gun preferred, dryer works |
| Dental floss | Slices adhesive bond cleanly | Fishing line (20-30 lb) |
| Adhesive remover | Dissolves leftover glue | Isopropyl alcohol as backup |
| Plastic trim tool | Releases clips on Ford badges | Guitar pick in a pinch |
| Microfiber cloth | Buffs and wipes without scratches | Any lint-free cloth |
Pro Tip: Buy a three-pack of microfiber cloths before you start. Use one dry, one damp for soap, and keep one clean for alcohol wipe-down. Cross-contaminating them is a common mistake that leaves residue behind right before you apply a new overlay.
If you're new to vinyl badge mods, reading through this vinyl emblem overlay guide before touching your car will save you a lot of trial and error.
Now that you know what tools and supplies you need, let's prepare your car and workspace for badge replacement.
Preparing your Subaru or Ford for badge removal and vinyl overlay installation
With your tools ready, preparing your vehicle properly sets the stage for smooth badge removal and overlay application.
The biggest preparation mistake is working outside in direct sunlight on a warm day. It feels convenient. It isn't. Sun heats the badge unevenly, which causes the adhesive to release in patches rather than uniformly, and your floss can snap mid-pull when one section is still cold.
Preparation checklist:
- Park in a shaded garage or carport with ambient temperature between 60 and 80°F
- Wash the badge and surrounding panel with mild soap and a microfiber towel, then dry completely
- Remove any wax, polish, or oily residue from the badge surface
- Apply masking tape around the badge perimeter to mark its exact position
- Allow the surface to sit for 10 minutes after cleaning before starting removal
Working at 60 to 80°F is not just comfort preference. It directly optimizes how vinyl adhesive cures and prevents installation failures caused by temperature extremes. Cold adhesive won't bond properly. Overheated surfaces cure too fast and leave weak spots.
The masking tape step is one most people skip, and they regret it. Once your factory badge is off, the paint beneath is often a slightly different shade or texture. Without a reference outline, your replacement overlay goes on slightly crooked, and you only notice it at 20 feet.
This practical guide to emblem overlays on Subaru and Ford vehicles goes deeper on model-specific differences worth knowing before you start.
Pro Tip: Take a photo of your badge from directly in front before removing it. This gives you a visual reference for positioning your replacement, especially useful if the masking tape outline shifts during the process.
Step-by-step guide to removing factory badges safely
Here is where patience earns its payoff. Rushed removal is responsible for the majority of DIY badge damage. Read through the full process once before you start.
- Heat the badge with your hair dryer or heat gun held 6 to 8 inches from the surface. Work in slow circles for 1 to 2 minutes. The goal is warm adhesive, not scorched plastic. You should be able to hold your hand near the badge without discomfort.
- Thread dental floss behind the badge on one edge. Use a sawing motion with steady, even pressure, working from one end to the other. Do not yank or jerk. If resistance increases, apply more heat before continuing.
- For Subaru badges, most use adhesive tape backing and respond well to the floss method. For Ford F-150 tailgate emblems, the process differs slightly. Ford F-150 tailgate badges use 5 plastic clips that must be released progressively from the bottom upward using a plastic trim tool. Forcing them from the top breaks the pins.
- Apply adhesive remover to any remaining glue residue. Let it soak for 1 to 2 minutes, then wipe away gently with a clean microfiber cloth. Don't scrub. The remover does the work.
- Wash and dry the area one more time. If you have access to a light polish, this is a good moment to bring the paint back up to a clean finish before installing anything new.
"Taking an extra 60 seconds on each step of the removal process protects both your paint and your patience. The badge has been on the car for years. Treat it accordingly."
The complete car emblems and personalization overview has more context on why Subaru and Ford badges are constructed differently and what that means for removal approach.
After removing the original badge carefully, you're ready to install your custom vinyl overlays or replacements.
![]()
![]()
Installing vinyl overlays and new emblems on Subaru and Ford vehicles
This stage rewards the prep work you just did. A clean, correctly sized surface and a reference outline make installation straightforward.
For vinyl overlays on Subaru badges:
- Wipe the badge surface with the included isopropyl alcohol prep wipe and wait 10 minutes. Do not touch the surface after wiping.
- Peel the backing paper slowly from one corner. Keep the overlay flat and avoid touching the adhesive side.
- Align the overlay with your masking tape reference and press one edge down first.
- Smooth from the center outward using your thumb or a squeegee card to prevent air bubbles.
- Use a hair dryer on low heat to warm the vinyl for 20 to 30 seconds after application. This helps it conform to the curves of Subaru emblems, which are rarely flat.
Subaru emblem overlays use automotive-grade adhesive and install in under 5 minutes after the 10-minute dry time following alcohol prep. That's genuinely faster than driving to a dealer.
For Ford clip-on or adhesive badge replacements:
- Align the new badge with your reference outline or masking tape marks.
- For clip-on types, press from the bottom upward to engage clips in sequence.
- Press firmly with your palm for 30 to 60 seconds across the full badge surface. Ford badge installations require firm, even palm pressure for 5 to 10 minutes total to ensure full adhesion.
- Leave the masking tape reference in place for 10 minutes after installation before removing it carefully.
| Badge type | Install method | Cure time before washing |
|---|---|---|
| Subaru vinyl overlay | Peel and press, heat conform | 48 hours |
| Ford adhesive emblem | Palm press, clip engagement | 48 hours |
| Ford clip-on emblem | Bottom-up clip sequence | No water restriction |
Avoid washing your vehicle for 48 hours after adhesive installation. This applies to both Subaru overlays and Ford adhesive-mount badges. Explore more application techniques in this vinyl overlay installation guide and see real before-and-after examples in this car customization with vinyl overlays feature.
Pro Tip: If you spot an air bubble right after installation, don't panic and definitely don't poke it. Warm the area gently with a hair dryer for 15 seconds and smooth the bubble toward the nearest edge with your thumb.
Once installed, it's important to verify the quality of your work and maintain your badges for lasting appearance.
Verification, common mistakes, and maintenance tips for lasting badge appearance
A successful installation is only half the job. What you do in the next 48 hours and over the following years determines how long your new badges hold up.
Immediately after installation:
- Check badge alignment from 10 feet back, not just up close
- Press down any lifted edges with firm thumb pressure
- Leave masking tape reference marks in place for at least 10 minutes
What kills overlays early:
- Installing below 60°F or above 95°F. Temperature extremes cause adhesive failure, and vinyl applied in the wrong conditions may last months instead of the expected 2 to 5 years.
- Skipping surface cleaning. Rushing past prep work is the most common reason badges fall off prematurely. Oil, wax residue, and dust create a barrier between the adhesive and the paint.
- Using abrasive cleaners or pressure washing directly at badge edges during regular washing.
"Treat your new badge like a screen protector on a phone for the first two days. No water, no heat, no pressure. After that, normal care keeps it looking sharp for years."
Long-term maintenance:
- Clean badges with mild soap and a soft cloth, never harsh degreasers
- Inspect edges every few months and press down any lifting corners before they catch wind
- Plan to reapply overlays every 2 to 5 years depending on sun exposure and regional climate
This emblem overlay maintenance guide covers seasonal care in more detail, including what to do for vehicles parked outdoors year-round.
Pro Tip: If you live in a high-UV region like Arizona or Florida, choose overlays made with UV-resistant vinyl. The color stays true significantly longer than standard vinyl under intense daily sun exposure.
With these maintenance tips, let's explore a unique perspective on the badge replacement process many enthusiasts overlook.
Why meticulous preparation is the key to flawless badge replacement
Most DIY badge content focuses on the exciting part: the removal and the reveal. The prep work gets a bullet point or two and then the article moves on. This is exactly why so many owners end up with crooked overlays, lifted edges, or scratched paint.
Here's the uncomfortable reality. The actual removal and installation combined take maybe 15 minutes on a Subaru. The prep work, done correctly, takes almost as long. And the prep is what separates a result that looks professional at 50 feet from one that looks like a weekend project.
Marking your badge outline with masking tape before doing anything else prevents the misalignment that affects 1 in 3 DIY attempts. That's not a small number. It means one out of three people who skip this step end up having to redo the work or live with a crooked badge.
The same logic applies to temperature control. Most people who end up with overlays peeling within six months installed them on a cold morning or in direct summer sun. Not because the product was bad, but because adhesives are chemistry, and chemistry has conditions.
The approach we recommend for the DIY Ford badge restyle process and the workflow for replacing Subaru badges is the same: slow down the prep, speed up the execution. Once your surface is clean, your outline is marked, and your workspace is the right temperature, the actual installation is almost automatic. The custom overlays personalization options become much more enjoyable when you're confident the result will stick around for years, not weeks.
Understanding the importance of preparation, here's how you can enhance your vehicle's look even further with trusted vinyl options and services.
Discover quality vinyl overlays and badge replacement solutions
You've done the hard work of learning the process. Now comes the rewarding part: picking a design that actually reflects your style.
We make vinyl emblem overlays built specifically for Subaru and Ford vehicles, with hundreds of designs available including every state flag. Whether you want a subtle matte black look on your Crosstrek's star badge, a home-state flag on your F-150 tailgate emblem, or something bold and unique, our overlays are made with UV-resistant automotive vinyl and sized to fit factory badges exactly. Installation takes under five minutes, and every order includes the prep wipes and instructions you need. Browse our full selection and find your design at embleminlays.com, and get step-by-step installation help from our vinyl emblem overlay application guide before your order even arrives.
Frequently asked questions
How long does it take to remove a car badge without damaging paint?
Using heat, dental floss, and adhesive remover, safe badge removal typically takes 10 to 20 minutes. Rushing to go faster is the main cause of scratched paint or snapped floss.
Can I install vinyl emblem overlays myself on my Subaru or Ford?
Yes. Vinyl overlays install in 2 to 5 minutes without removing the factory badge, making them the easiest way to customize your vehicle's look without any professional help.
What temperature is best for applying vinyl badges and overlays?
Between 60 and 80°F is the ideal range. Adhesive cures properly in this window, and you avoid the brittleness caused by cold or the rushed curing caused by excessive heat.
How do I avoid misalignment when replacing or overlaying badges?
Trace your badge outline with masking tape before removing anything. This simple step prevents the misalignment that affects roughly 1 in 3 DIY badge replacements, according to installation experts.
How long do vinyl emblem overlays typically last outdoors?
High-quality vinyl overlays last between 2 and 5 years outdoors. UV-resistant vinyl and proper installation on a clean, temperature-appropriate surface push that number toward the higher end.