TL;DR:
- Proper surface cleaning and patience are essential for long-lasting decal application.
- Cast vinyl offers better flexibility and durability for curved surfaces compared to calendered vinyl.
- Careful aftercare, including proper cleaning and curing time, extends decal lifespan.
Crooked decals, trapped air bubbles, and edges that peel after two weeks are enough to make anyone swear off DIY customization. But those failures almost always trace back to skipped steps, not bad luck. Whether you're dressing up a Subaru Outback emblem or personalizing a Ford F-150 badge, the difference between a professional finish and a frustrating redo is a solid checklist. This guide walks you through every stage, from surface prep to aftercare, so you can apply your vinyl decal once and enjoy it for years. Follow each step, and you'll wonder why you ever stressed about it.
Table of Contents
- Before you start: Preparation and must-have tools
- Step-by-step decal installation process
- Comparing decal types and finishes for personalization
- Aftercare: Ensuring your decals last
- Why many DIYers struggle with decals (and how you can avoid it)
- Ready for a next-level look? Explore custom overlays
- Frequently asked questions
Key Takeaways
| Point | Details |
|---|---|
| Preparation is essential | Thorough cleaning and the right tools lead to strong, long-lasting decal adhesion. |
| Use a proven process | Following a step-by-step checklist avoids bubbles and alignment mistakes. |
| Choose quality materials | Premium vinyl and finishes maintain your style and resist weather-related wear. |
| Prioritize aftercare | Routine maintenance keeps decals looking new for years. |
| Customization is personal | Matching the right decal and method to your Subaru or Ford ensures the best results. |
Before you start: Preparation and must-have tools
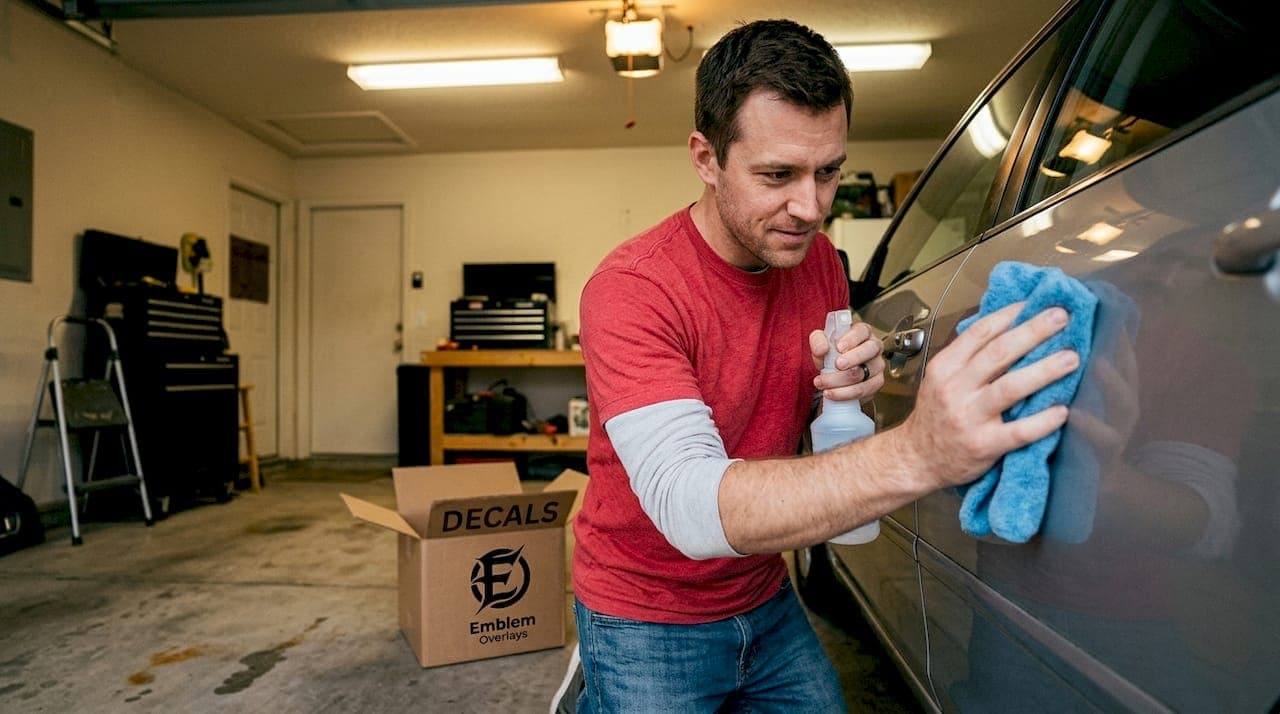
Great results start before you ever touch the decal. The most common reason vinyl fails early is a contaminated surface. Oils from your hands, road grime, wax residue, and even water spots all break down adhesive over time. Proper surface cleaning prevents premature decal peeling, and it takes less than ten minutes to do it right.
Start by washing the application area with soap and water, then wipe it down with isopropyl alcohol (70% or higher) on a lint-free cloth. Let the surface dry completely. Do not use paper towels because they leave micro-fibers that lift the vinyl edge over time. The 3M surface prep guide recommends a final wipe with a clean, dry cloth to confirm zero residue before application.
Here are the tools you need before you begin:
- Squeegee or felt-edged applicator card for smoothing the decal without scratching
- Masking tape for positioning and creating a hinge
- Isopropyl alcohol and lint-free cloths for final surface cleaning
- Application fluid (a few drops of dish soap in water) if you prefer the wet method
- Measuring tape or ruler to center your decal accurately
- Heat gun or hair dryer for curved surfaces and stubborn edges
- Plastic razor blade for trimming or lifting mistakes without scratching paint
Temperature matters more than most people realize. Vinyl adhesive activates best between 60°F and 80°F. Applying a decal in direct summer sunlight can cause the adhesive to grab too fast, leaving bubbles you cannot smooth out. Cold weather makes vinyl stiff and prone to cracking. Find shade, or work in a garage where you can control conditions.
Pro Tip: Before peeling any backing, use masking tape to mock up your decal placement. Step back, look at it from several angles, and adjust until the position feels right. This costs you nothing and saves you from a crooked result.
Step-by-step decal installation process
Once your workspace and car are ready, follow this clear sequence to apply your decal with confidence. Rushing any single step is where most DIYers create problems they cannot easily fix.
- Position and tape the decal. Place the decal (still on its backing) exactly where you want it. Run a strip of masking tape down the center to create a hinge. This lets you fold one half back without losing alignment.
- Peel one side of the backing. Fold the unhinged half back carefully. Peeling the backing slowly prevents stretching or tearing the decal, especially on thinner vinyl cuts.
- Smooth from center outward. Using your squeegee, work from the hinge toward the outer edge in firm, overlapping strokes. Never drag from edge to edge in one pass.
- Remove the hinge tape and peel the other half. Once the first side is fully adhered, remove the center tape, fold back the remaining backing, and repeat the smoothing process.
- Remove the transfer tape slowly. Pull at a low angle (about 30 degrees) to avoid lifting the vinyl with it. If a section lifts, press it back down and continue.
- Inspect and press edges. Run your fingernail or the squeegee edge firmly along all borders to seal them completely.
- Allow cure time. Let the adhesive bond for at least 24 hours before exposing the decal to water, dirt, or temperature extremes.
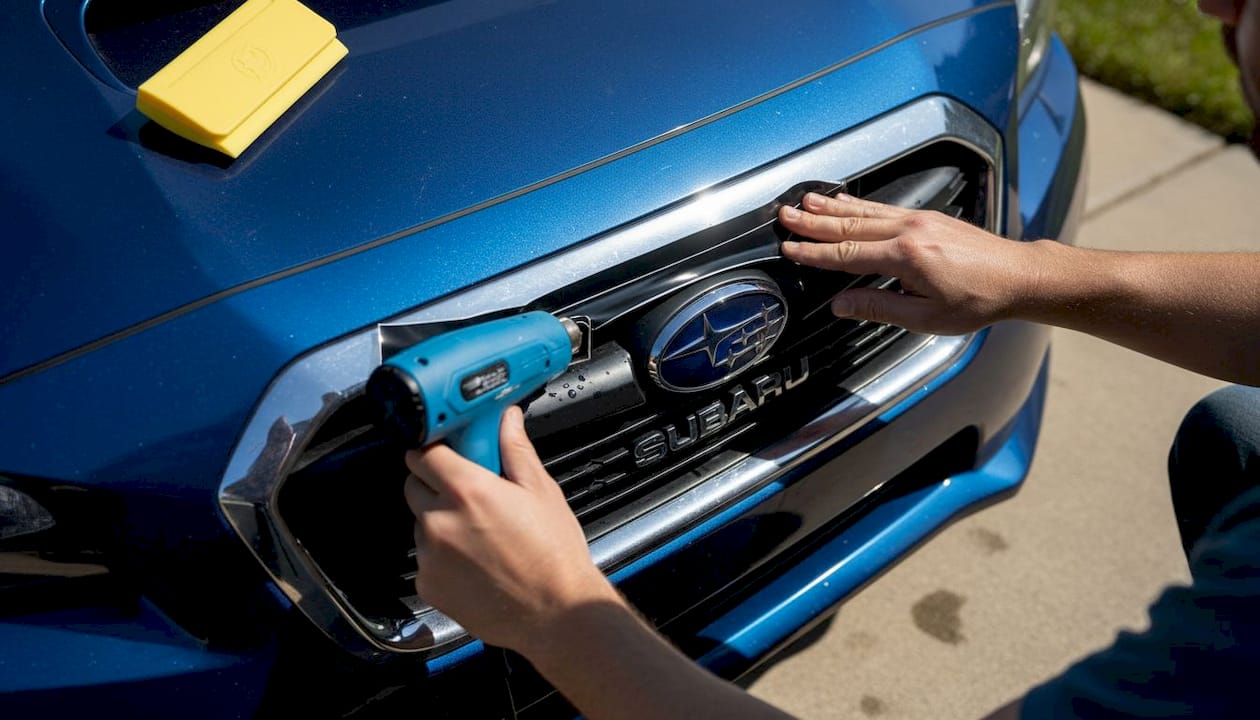
For Subaru and Ford emblems specifically, the curved surfaces require extra attention. Check out the emblem overlay process for model-specific tips on working around raised edges and contoured badge shapes.
Pro Tip: A brief pass with a heat gun on a low setting (around 150°F) softens the vinyl just enough to conform to tight curves without stretching it. Keep the gun moving and never hold it in one spot for more than two seconds.
Comparing decal types and finishes for personalization
Now that you know the method, let's compare your options so your new look truly fits your style. Not all vinyl is created equal, and the material you choose affects how long your decal lasts and how easy it is to apply.
The two main categories are cast vinyl and calendered vinyl. Cast vinyl is made by spreading liquid PVC onto a casting sheet, which produces a thin, flexible film that conforms easily to curves. High-quality cast vinyl can last up to 7 years with proper installation. Calendered vinyl is thicker, less flexible, and better suited for flat surfaces. It typically lasts 3 to 5 years and is more affordable.
| Feature | Cast vinyl | Calendered vinyl |
|---|---|---|
| Flexibility | High | Moderate |
| Longevity | 5 to 7 years | 3 to 5 years |
| Best for | Curved emblems, badges | Flat panels |
| Ease of application | Easier on curves | Easier on flat areas |
| Cost | Higher | Lower |
| Shrinkage over time | Minimal | More likely |
Popular finishes include:
- Gloss: High shine, mirrors factory paint, easiest to clean
- Matte: Flat, modern look that reduces glare
- Metallic: Adds depth and a premium appearance
- Carbon fiber texture: Sporty look popular on Ford performance models and Subaru WRX variants
For emblem overlays specifically, cast vinyl in gloss or matte tends to perform best because it wraps around badge edges cleanly. You can explore subtle customization with overlays to see how different finishes look on real Subaru and Ford vehicles before committing.
For reference on premium wrap-grade films, automotive decal films from brands like ORAFOL represent the kind of material quality worth seeking out.
"Investing in quality materials cuts down on rework. A cheap decal that fails in six months costs more in time and frustration than a premium one that lasts seven years."
Aftercare: Ensuring your decals last
Personalization doesn't end with application. Protect your investment for a long-lasting custom look by treating the first 48 hours and every wash after that with care.
For the first two days after installation, keep the decal dry. No car washes, no rain exposure if you can help it, and no direct pressure washing near the edges. The adhesive is still curing, and moisture can weaken the bond before it fully sets.
After the cure period, routine washing and gentle cleaning extend decal life significantly. Hand washing with a pH-neutral soap is ideal. Avoid automatic car washes with stiff brushes because they catch edges and peel vinyl over time.
Here are the most important ongoing care habits:
- Wash by hand using a soft microfiber mitt and pH-neutral soap
- Avoid high-pressure jets aimed directly at decal edges
- Apply a UV-protective wax or sealant over the decal every few months to prevent fading
- Inspect edges monthly for early signs of lifting and press them back down before they worsen
| Common aftercare mistake | What happens | Fix |
|---|---|---|
| Washing within 48 hours | Adhesive weakens, edges lift | Wait the full cure period |
| Pressure washing edges | Vinyl peels from corners | Use low pressure, wide angle |
| Skipping UV protection | Color fades within a year | Apply sealant every 3 months |
| Ignoring small lifts | Dirt gets under the edge | Press down and seal with heat |
| Using abrasive cleaners | Surface scratches and dulls | Use pH-neutral soap only |
For detailed guidance on keeping overlays looking sharp season after season, the overlay maintenance tips page covers everything from winter salt exposure to summer UV protection. You can also reference washing vinyl decals for a broader look at safe cleaning techniques.
Why many DIYers struggle with decals (and how you can avoid it)
Here's the honest truth we've seen play out repeatedly: most decal failures have nothing to do with skill level or expensive tools. They come down to two overlooked habits.
The first is surface prep. People spend money on premium vinyl and then apply it over a surface that still has wax or finger oils on it. The adhesive never gets a clean grip. A five-minute cleaning routine with isopropyl alcohol eliminates this completely. It's the single highest-return step in the entire process.
The second is patience during the cure period. We know it's tempting to drive through a car wash the next morning to show off the new look. But that 24 to 48-hour window is when the adhesive is forming its strongest bond. Interrupt it, and you're setting up a peel within weeks.
The stepwise overlay process reinforces this point well. Customization is as much about care as it is about creativity. Owners who take their time and follow each step rarely need to redo their work. Those who rush almost always do. The checklist exists because the sequence matters, not because the task is hard.
Ready for a next-level look? Explore custom overlays
You now have everything you need to apply a vinyl decal cleanly and confidently on your Subaru or Ford. But if you want to skip the cutting and measuring entirely, pre-cut emblem overlays make the process even more straightforward.
Our handmade emblem overlays are designed to fit directly over your factory badge with no trimming required. We offer hundreds of designs including every state flag, so you can show off your home state or your team colors without any guesswork. Visit Emblem Inlays to browse designs made specifically for Subaru and Ford models and find the overlay that fits your style perfectly.
Frequently asked questions
How do you prevent air bubbles during decal installation?
Smooth the decal from the center outward using a squeegee, and always work slowly to avoid trapping air. Technique matters more than speed when it comes to bubble-free results.
Can I wash my car right after installing a decal?
Wait at least 48 hours before washing to let the adhesive fully cure. Waiting before washing preserves the bond and prevents early edge lifting.
What type of vinyl lasts longest on emblems?
High-quality cast vinyl typically lasts 5 to 7 years on exterior surfaces. Cast vinyl is recommended for curved emblem applications because of its flexibility and durability.
Do these steps also work for custom Ford and Subaru overlays?
Yes, this checklist is ideal for overlay applications on Ford and Subaru vehicles. Subaru and Ford overlays follow the same installation sequence with minor adjustments for badge shape.
How can I fix a decal if the edge starts to peel?
Gently heat the lifting edge with a hair dryer and press it down firmly, making sure the area is clean and dry first. Troubleshooting peeling edges early keeps your overlay secure and looking sharp.